1, 3
Sapper has a saved action and will move in, plant a charge, possibly grab stuff and move out again to become stealthy. What’s the action cost to grab?
Zero. Ditto to drop or transfer. So you can (1) move in, (2) plant, get all the dropped gear and (3) get out with one action left.
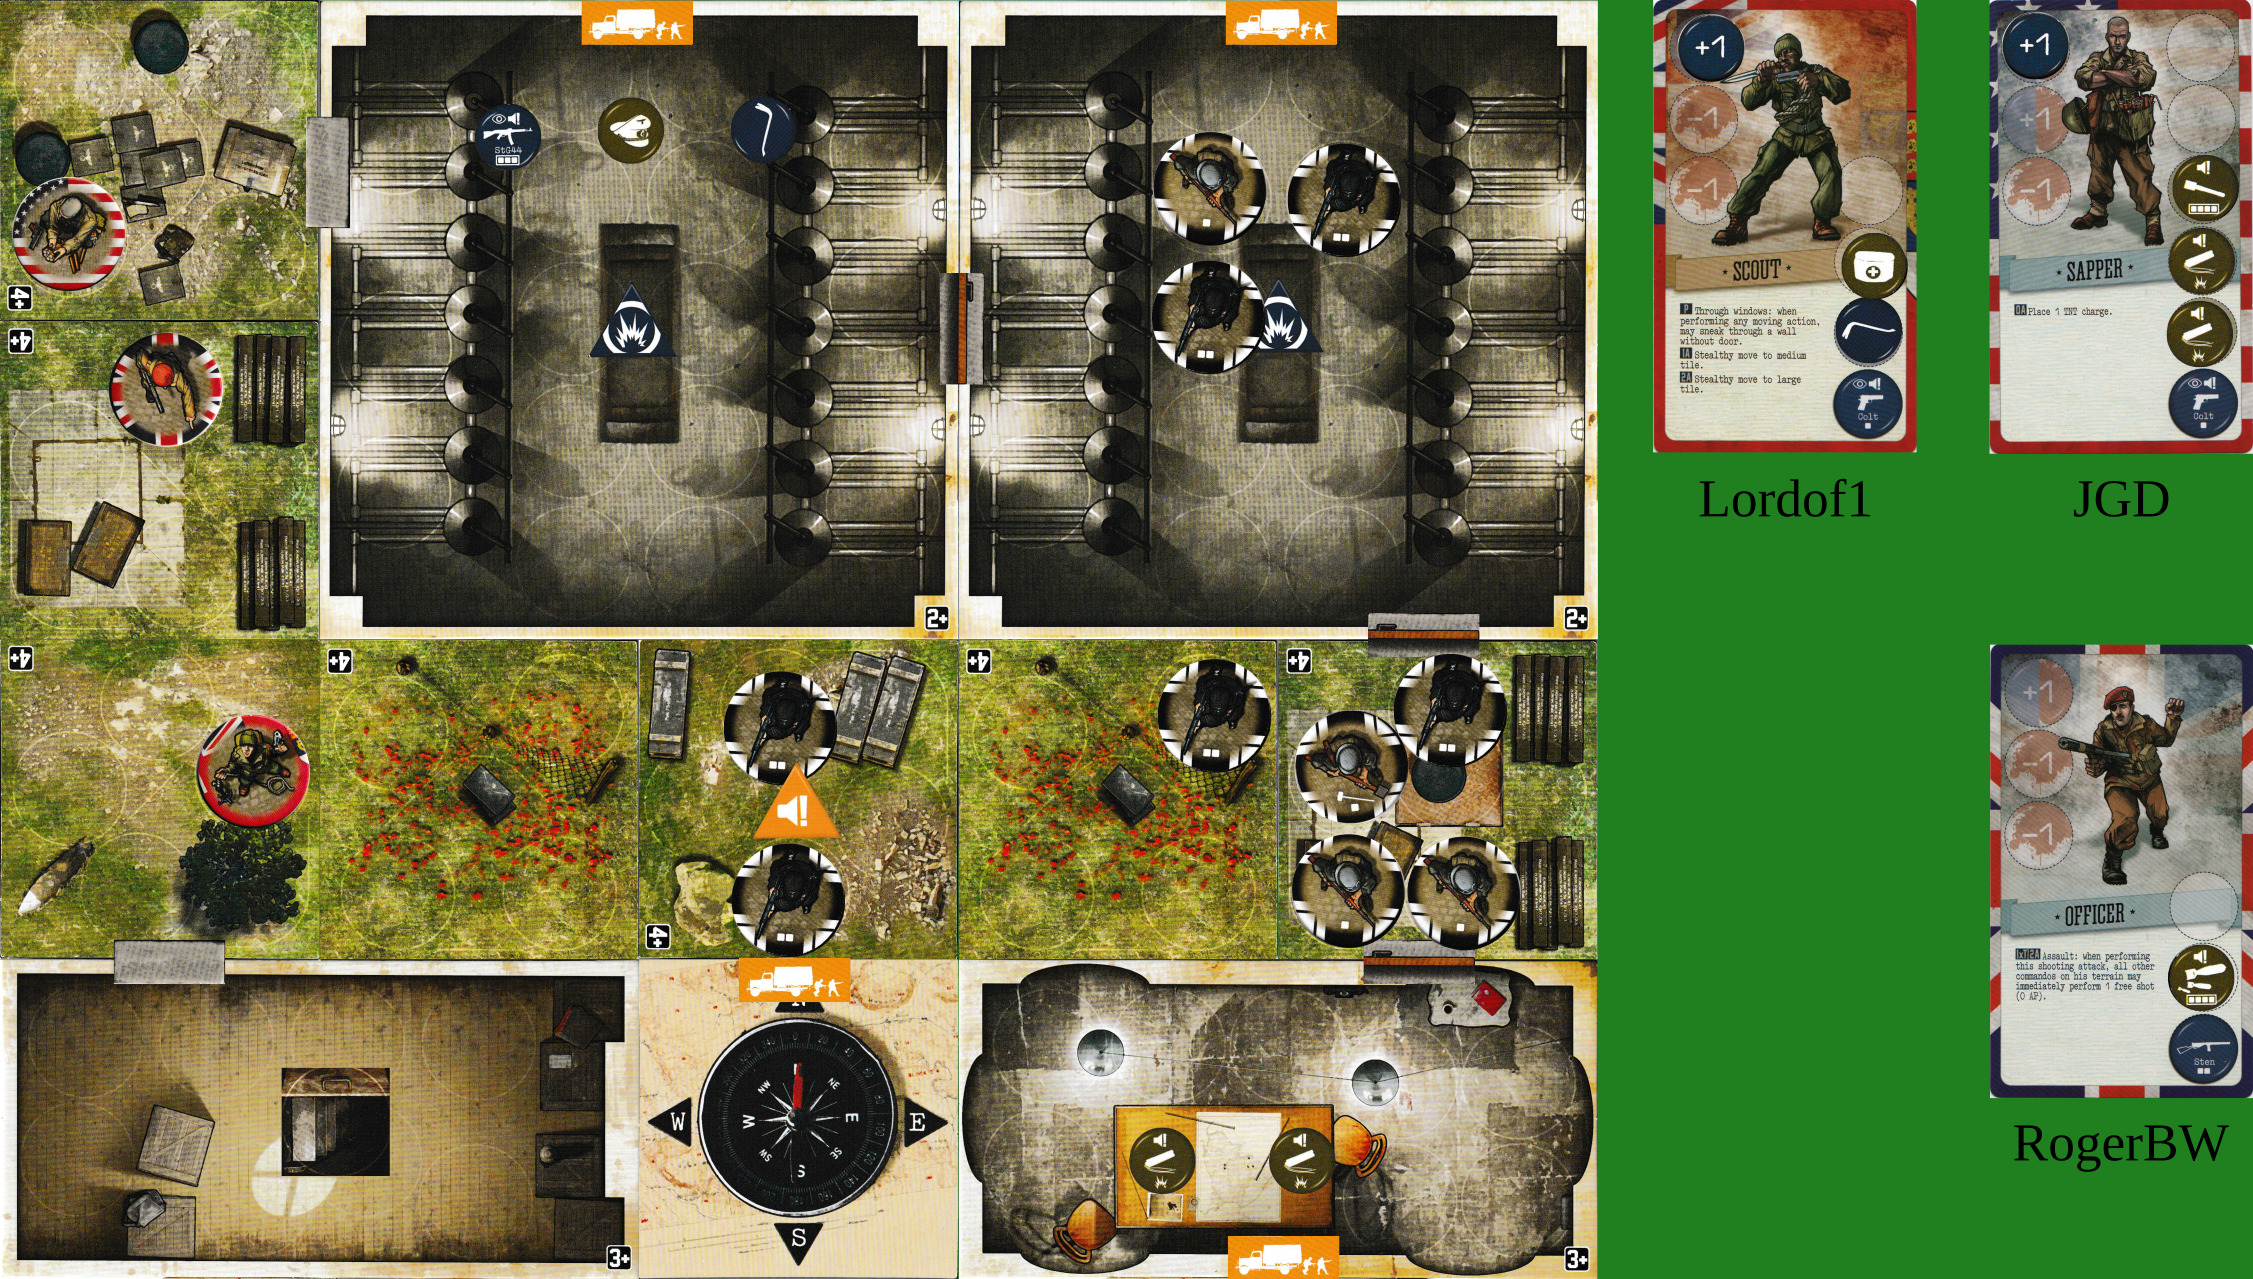
If that’s OK, @Lordof1 to play. You could move north and keep your saved action; or move east, shoot once, then move west and save.
That’s just fine. @Lordof1 to play.
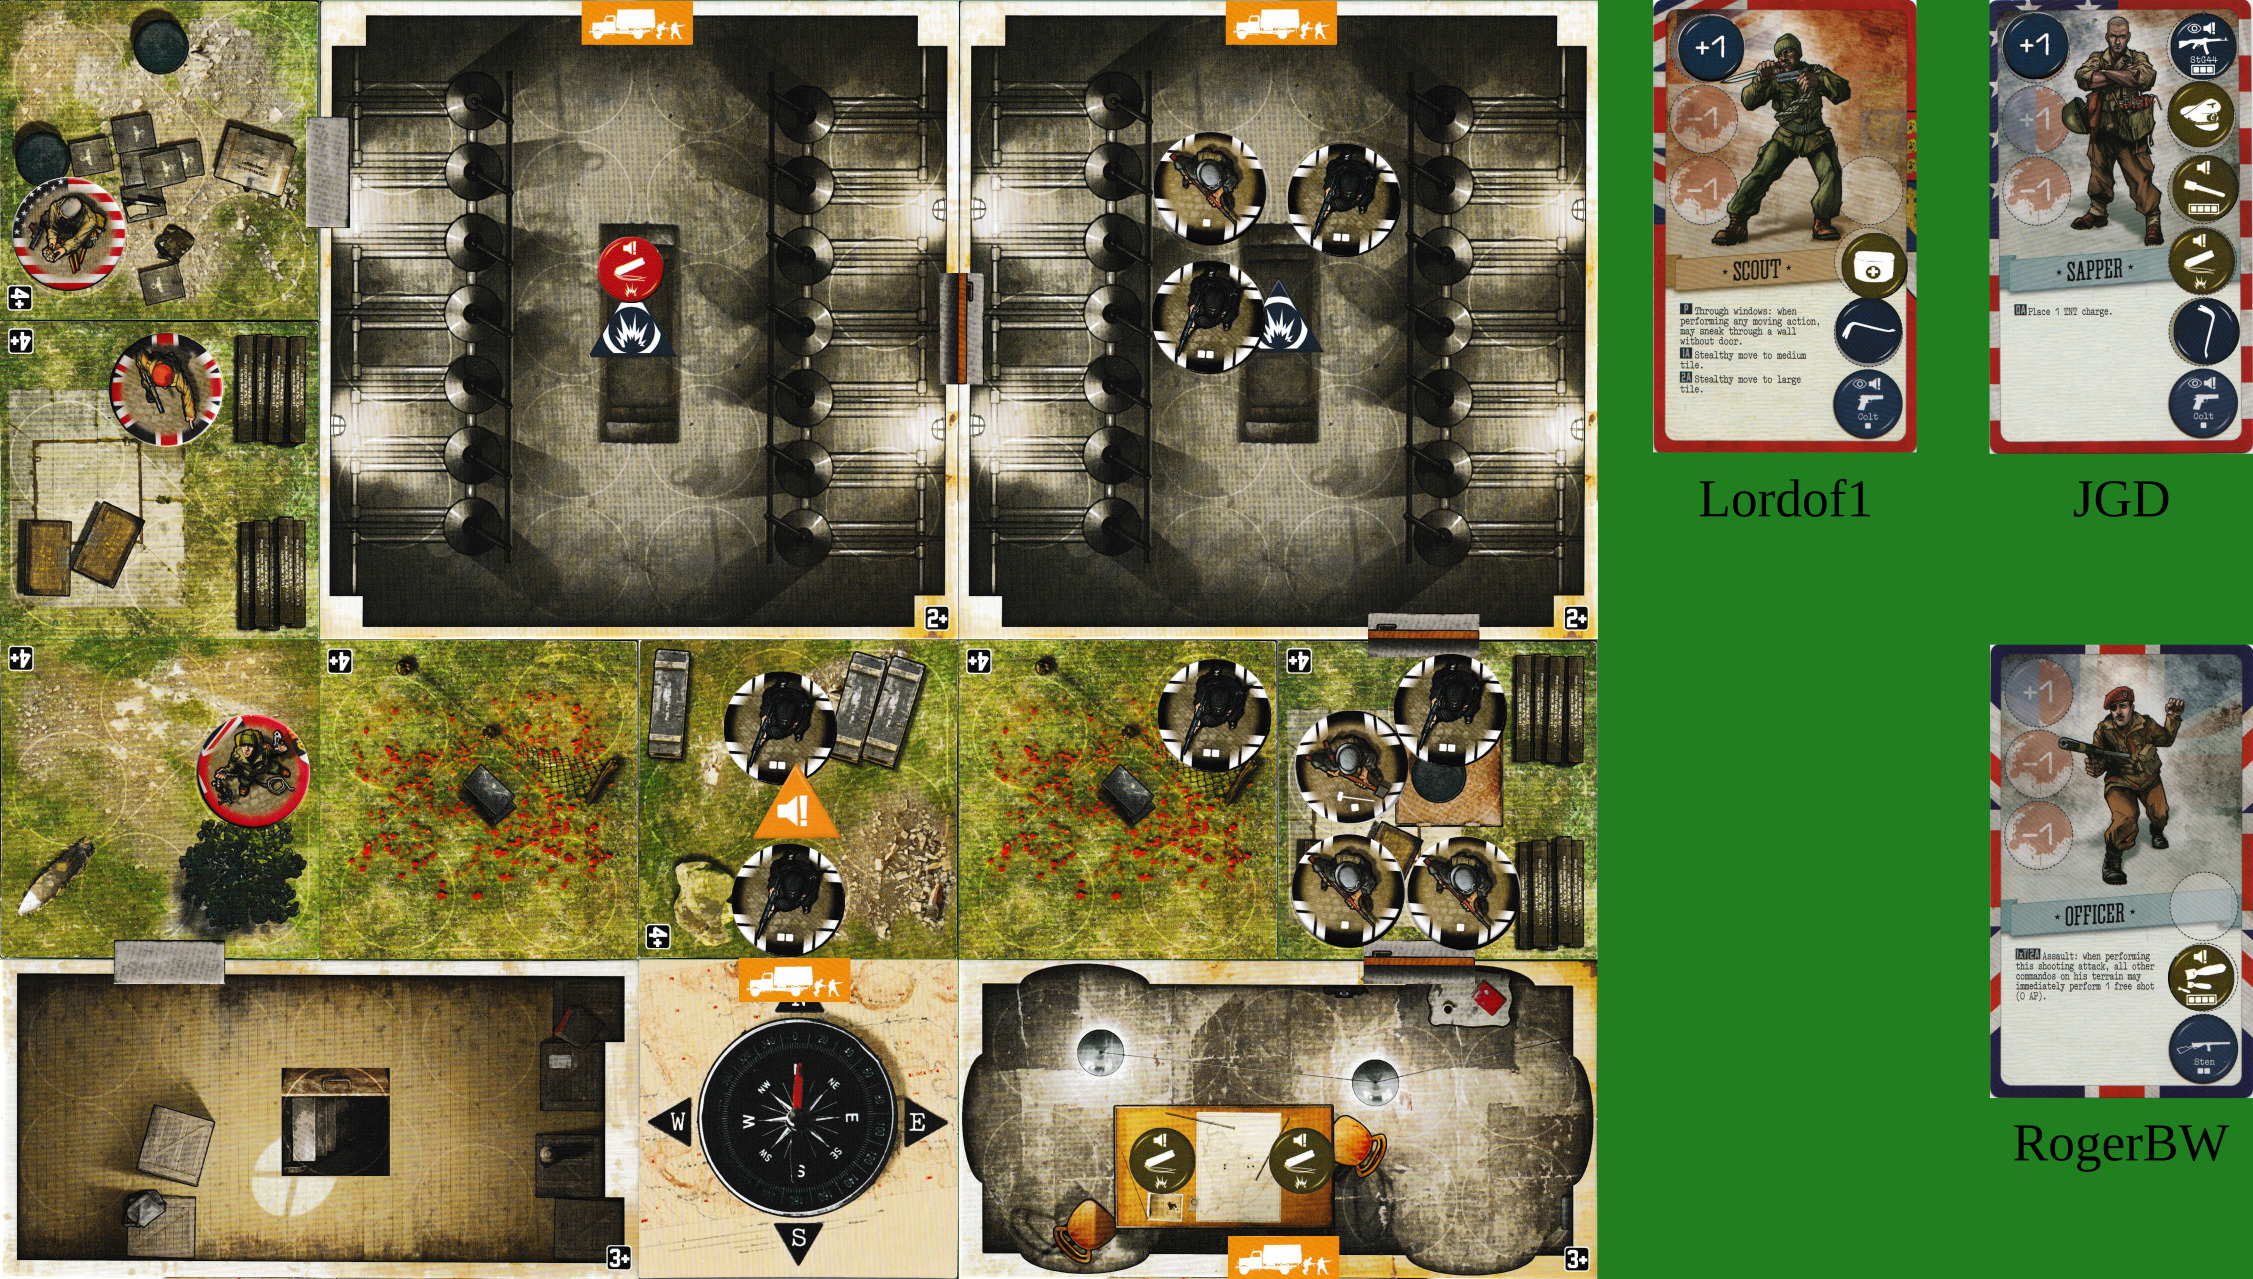
Does the bomb go off at the end of the round? I think I’ll move north and save as we’re approaching a conclusion, may be best to stick together.
The bomb goes off when we want it to go off - zero actions. And it’s not subject to the enemy finding and disarming it. OK, moving north.
1 enemy reinforcements:
- enemy-3
enemy-2 (locks onto the western drydock objective)
enemy-1
enemy-1
enemy-2
enemy-2
enemy-1
zero
2 enemy movement:
The card is “6th sense”, which is: enemy move north. But the easternmost small space is full, so they don’t move at all.
3 enemy fire - no visible targets.
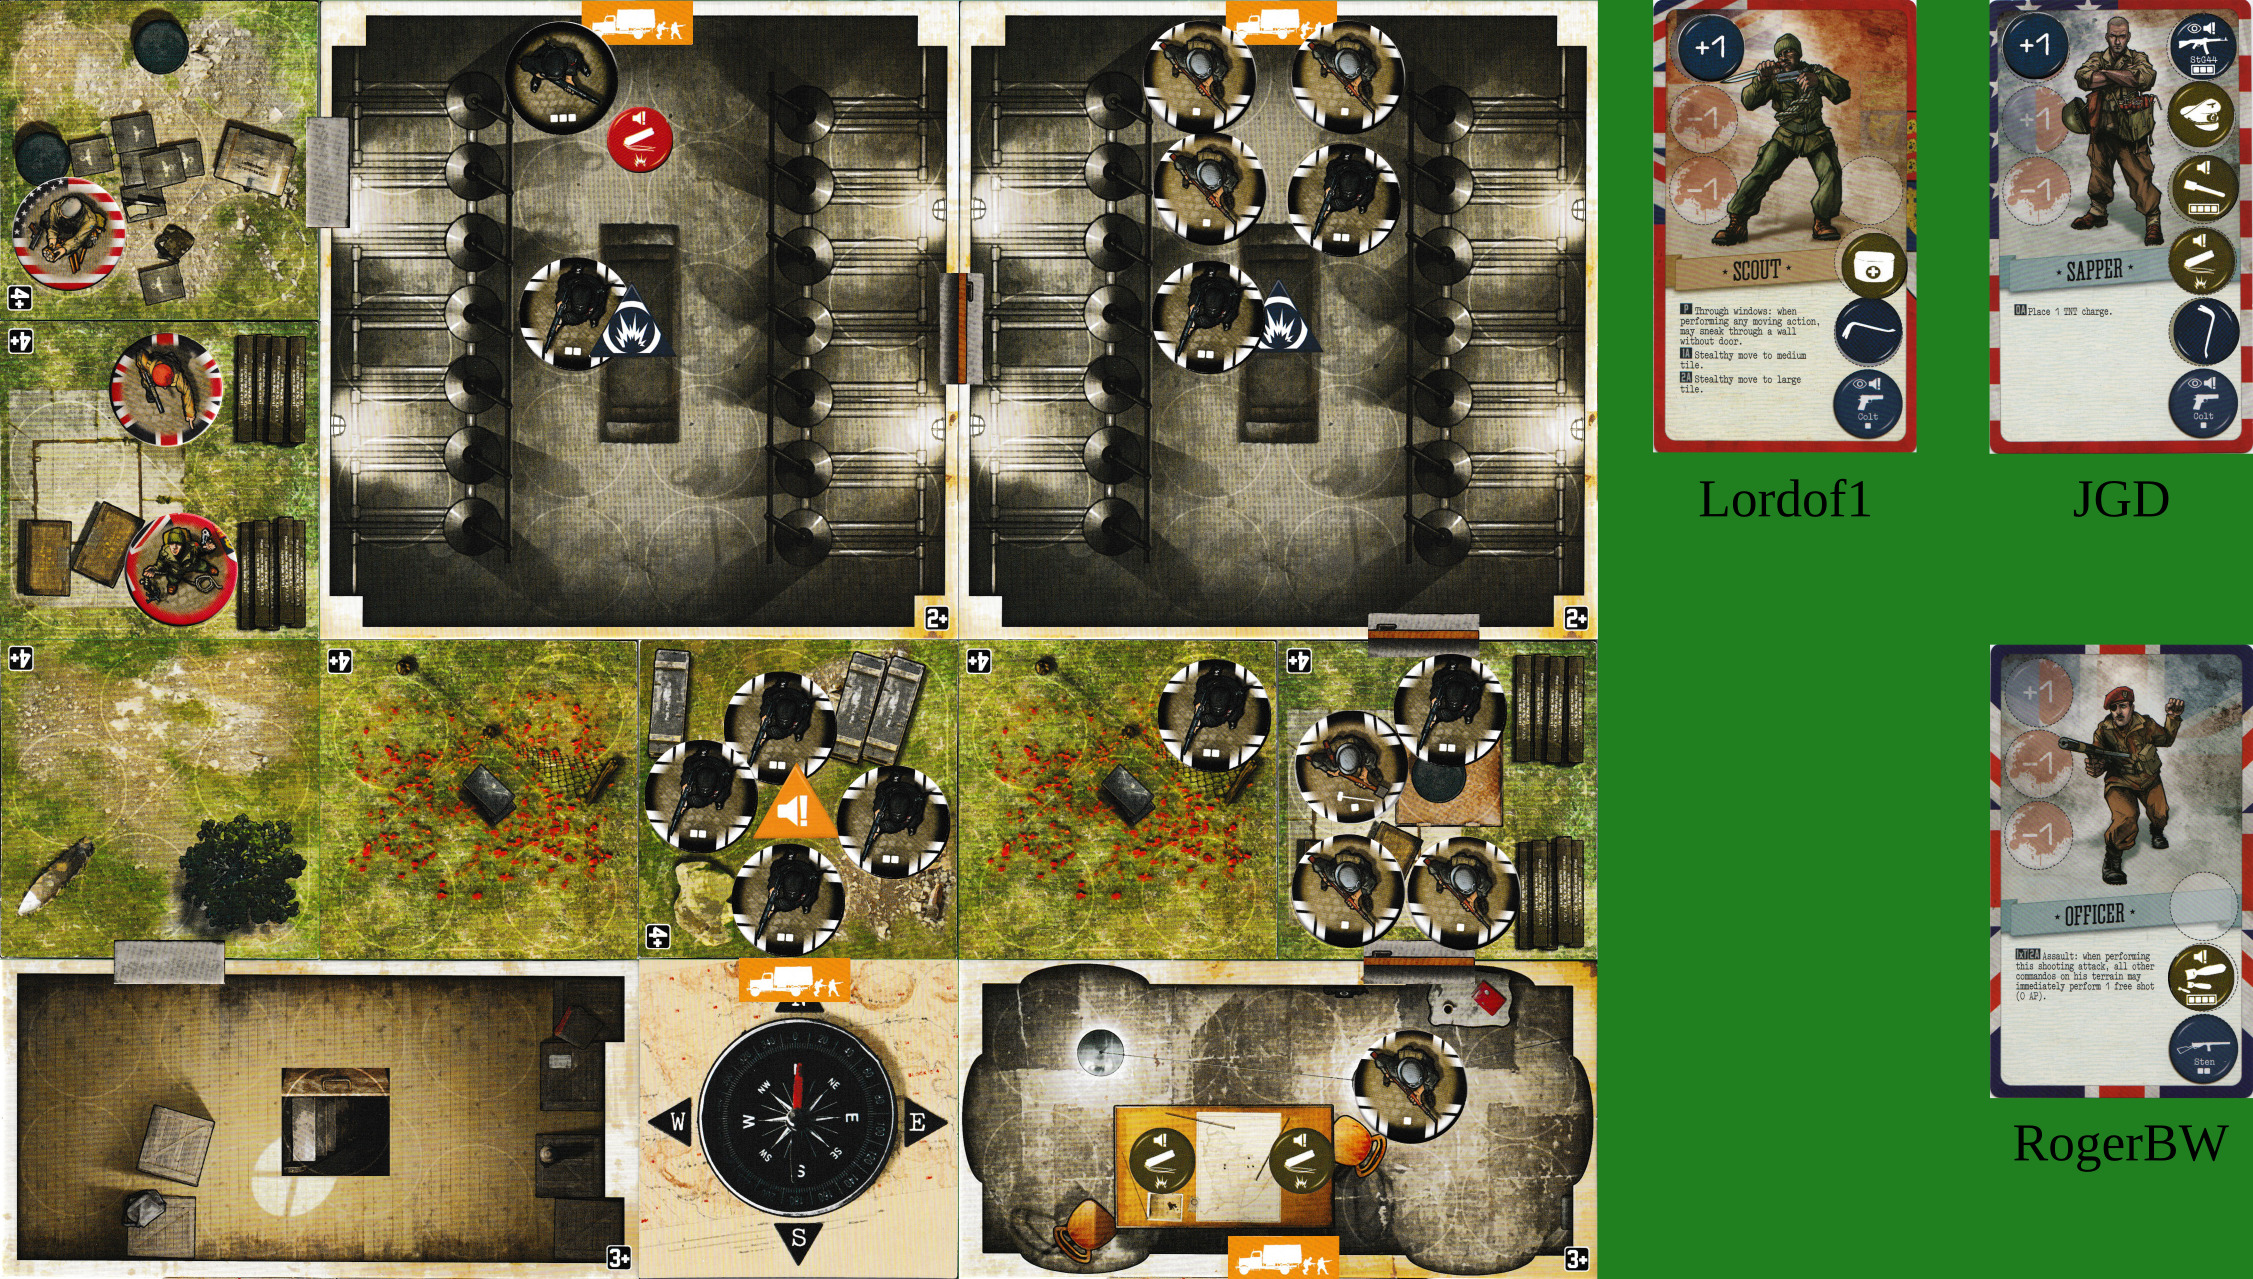
Turn 5 begins.

So let’s try not to be visible. Enemy moves west, which is tricky.
Scout could be given the second charge and make a run for it, but would probably (87%) get spotted by the eastern dry-dock defenders and shot.
Going south means lots of shooting at poor odds.
If we make a rush eastwards, killing all the enemy we can spot (helped by that StG44), we ought to be able to get into the eastern dock. Then the southern enemies rush in. Hm.
We do have that uniform, which lets the wearer be stealthy on any size of tile. (But visibility checks by defenders aren’t affected.)
OK, here’s a plan.
- Officer moves N, shoots E, shoots E again if needed. That should clear the western dock.
- Scout moves N, collects StG44, moves E, shoots E twice. That should cut down the number of enemies in the eastern dock.
- Sapper moves E, moves E, plants the charge, moves W.
That leaves Scout and Sapper visible in the western dock, to be blown up by the tank. So it’s not a good plan. I welcome a better one.
Another thought: we move south, collecting in the SW outdoor tile, and get ready for a mad minute next turn. I have to say I’m not a huge fan of this plan either.
Check equipment. What’s the bomb-looking thing on the officer’s card? Does the door between the docks require a crowbar?
Scout has: first aid kit, crowbar, pistol.
Sapper has: StG44, uniform, grenade, TNT, crowbar, pistol
Officer has: ability to call bombardment, Sten.
The bombardment can target one outdoor tile of any terrain in play, and does a 4-dice attack. (As with all attacks, you can decide which targets are hit after the dice are rolled.)
Yes, the door between the docks does need a crowbar, which my earlier plan doesn’t account for.
I think a mad rush east, plant and rush back is worth a try. I’ll get shot for sure, either by them or the tank, but that’s looking semi inevitable, it might just work, and it gives you two a chance to regroup. I’ll run east twice, plant charge, then sadly there’s no way to exit and stealth so I may as well stay where I am so that the tank attacks me and everyone in there. You two stay stealthy so it goes for me. That way if I get shot before I plant the charge, the tank will clear the room.
I’m trying for an “everybody survives” plan here. (If you wanted to go out in a blaze of glory, you could get shot in the eastern dock, and let the tank blow up the objective for us.)
Free enemies are moving west this turn. If we all plan to end up in the NW corner, we can clear out the western dock (and shoot/crowbar the inter-dock door); then one of the western reinforcements locks onto the objective token, and the other comes west (so we save a Sten action for murdering him as he appears). Anybody who becomes visible moves back to re-stealth. That leaves about seven enemies in the western dock, and only one in the eastern. We could possibly, next turn, be blatant, wipe them out, and push through into the eastern dock.
And next turn the easternmost outdoor space will be empty, which takes one more action with a crowbar or shot.
Or we could set off the charge to wipe out those 7-ish enemies, and go round the long way.
Sorry, Eastern dock is exactly where I meant. I’m proposing I run through to there and act as bait for the tank.
Checking the rules, if you get eliminated, you can bring a random new commando onto the next terrain - but without starting equipment. (Which would be the sniper or the medic.) Are you sure you want to go for that, or shall we try to do this while staying alive?
Also: (1) move-N (2) move-E (3) crowbar (4) move-E - yes, OK, that works.
I like your plan but it’s far from foolproof and going to long way round leaves a few cards to come out yet plus a fair few enemies turning up whilst we move - my feeling is our situation may be as bad or worse by then, so I’m willing to go the self sacrifice route… but if you both feel you’d rather give Roger’s long way round a try I’m happy to come along too.
Roger, I don’t need the crowbar as I can go through the wall, which also eliminates the need for my first move north - I can just move east twice and be left with two actions in there - I can plant explosives and possibly run, although there isn’t much point in running or shooting. Is there a dodge action? I could use two moves to enter stealthily on the tiny chance no one spots me?
Hmm. Even if we give you the uniform, you’ll have to pass visibility checks.
So moving east, let’s say wearing the uniform and an explosive charge, gives you two vis checks.
If you pass that you can go one more tile east (still with uniform), and that’s five vis checks, which you will certainly fail. (And a stealthy move is effectively the same as wearing the uniform.)
Fourth action is to plant the charge.
Trying to escape from eastern docks will attract reaction fire from those five, which in a large room will leave you critically wounded - and if you go west (to get near us with the first-aid kits) you’ll be visible, and therefore tank-bait. And it’s taken five actions.
Let’s try to come up with a southern plan. Officer S, possibly bombard that cluster of 4 to the E, save. Sapper shoot with StG44 E (become visible), S, S, save. Scout S, E, shoot with pistol (become visible), W. That leaves us all invisible in the SW outdoor space. Whether we can stay ahead of the advancing enemies thereafter is not clear, but there’s the possibility of getting in and cancelling the alarm… if we can get three spaces east, the scout can try to get in, plant the charge, get shot, sneak out and get first-aided.
Well it’s worth a try, but I suspect we may fail anyway due to troop build up but I’m happy to give it a go…
I’m trying really hard not to be That Player who tells everybody else what to do…
Sapper has to go S, S to get a line of fire, has one attack action, and then needs to move to become stealthy as best I understand it. I have a grenade: is that worth using?
You can attack into adjacent spaces that you can get to - there’s no line of fire beyond that. Moving three spaces and then attacking would potentially leave you visible.
A grenade will trigger the alarm (if not already sounding) but doesn’t make you visible, whereas most guns do both. And because it’s not a stealthy weapon it’s not subject to Spotted tokens. So going S, S, E, grenade might be worth considering - but any survivors will move west onto you in the enemy phase.