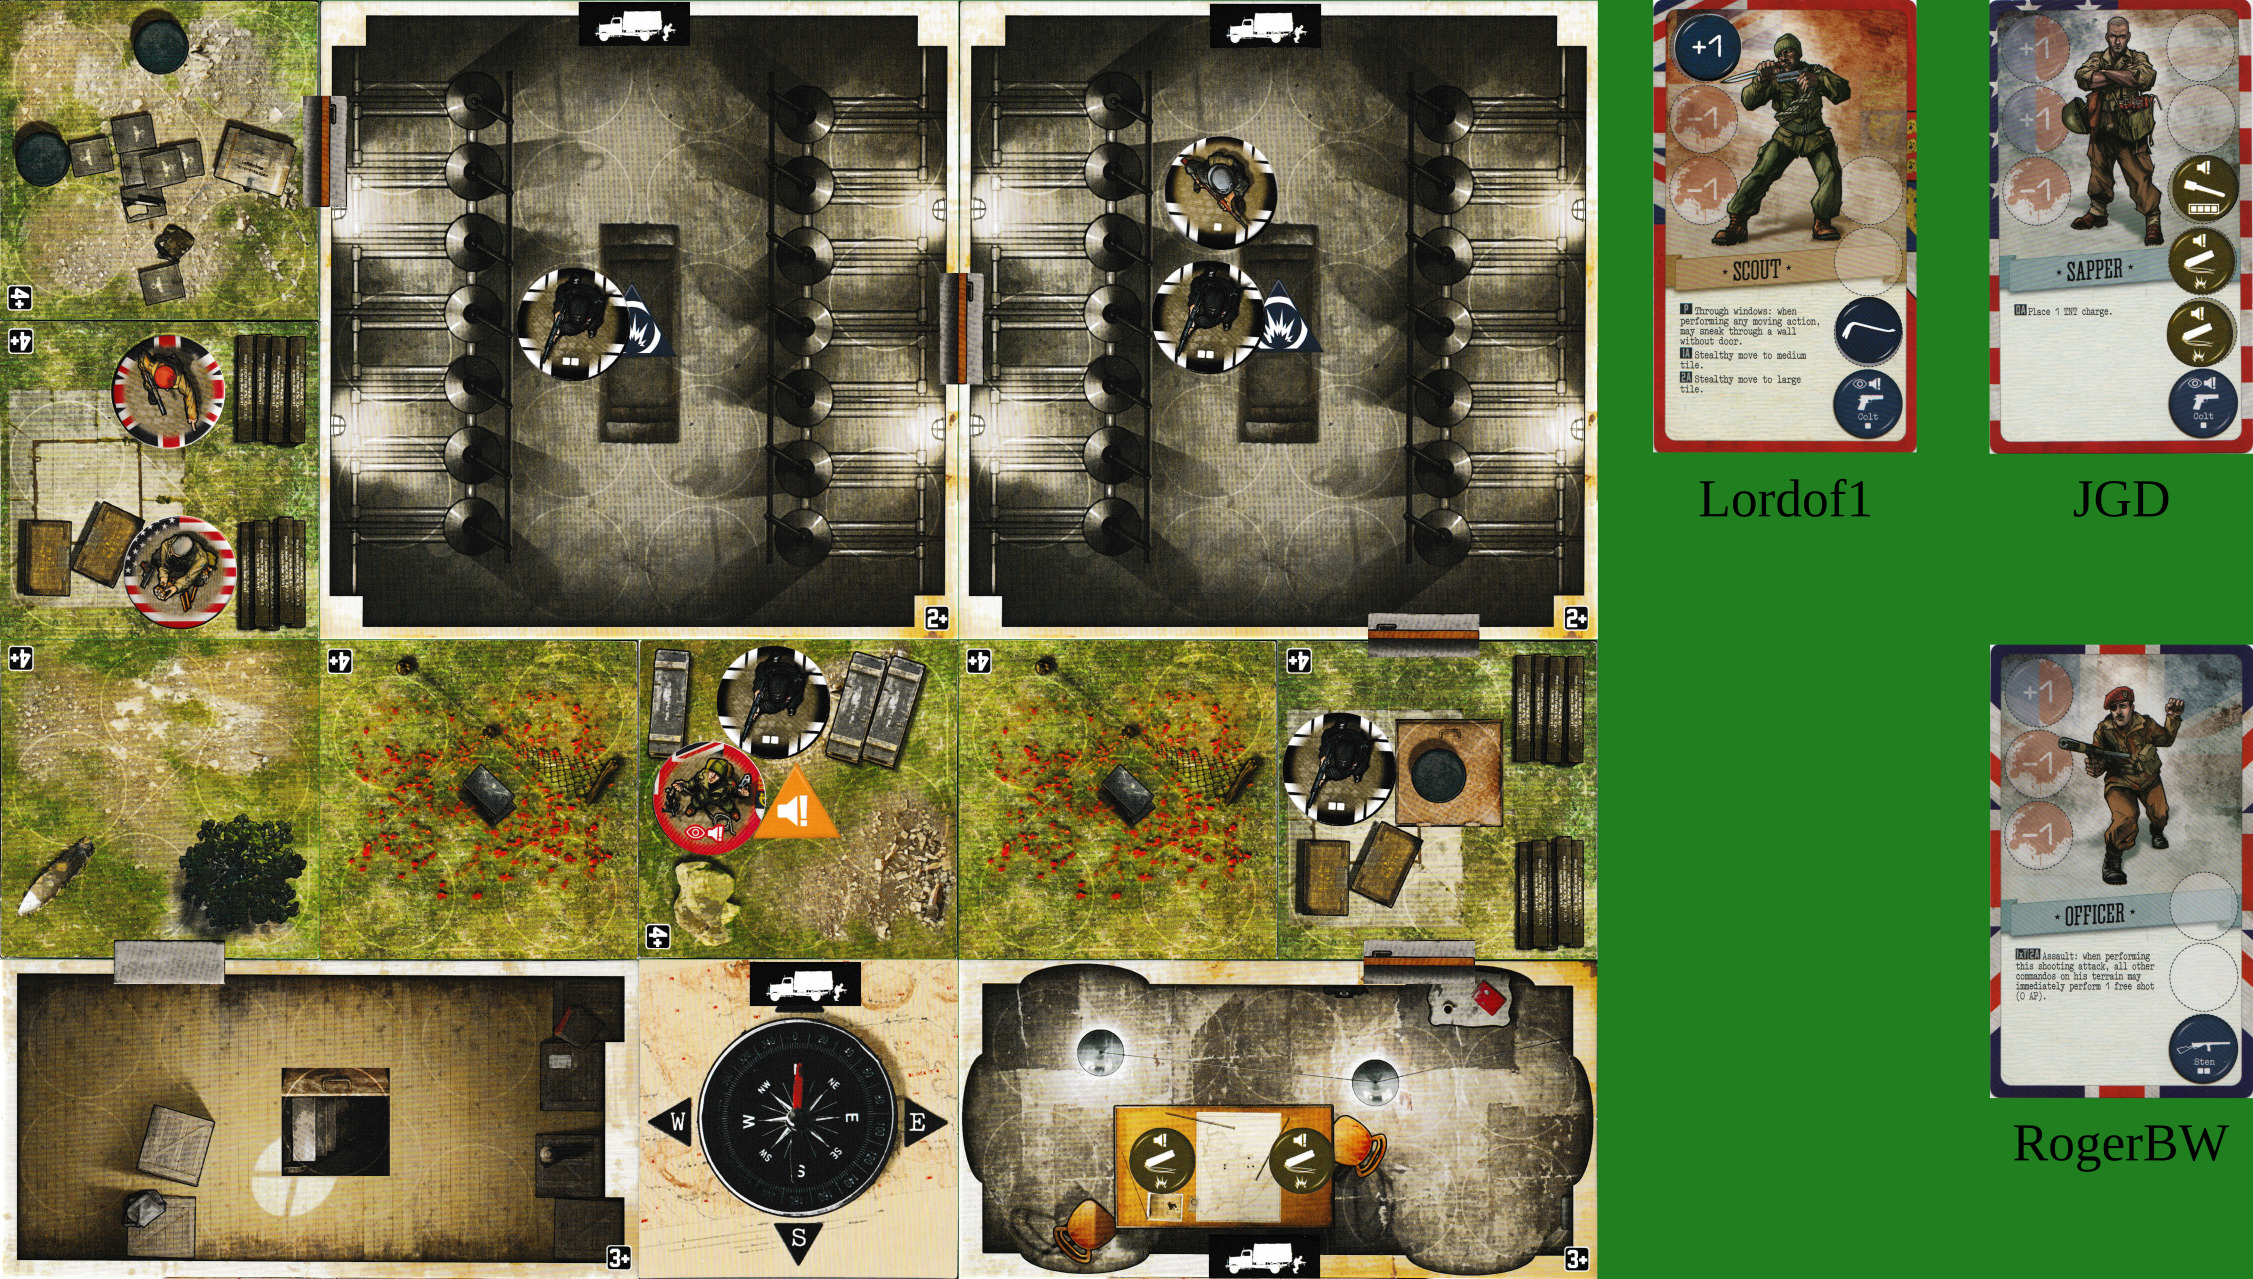
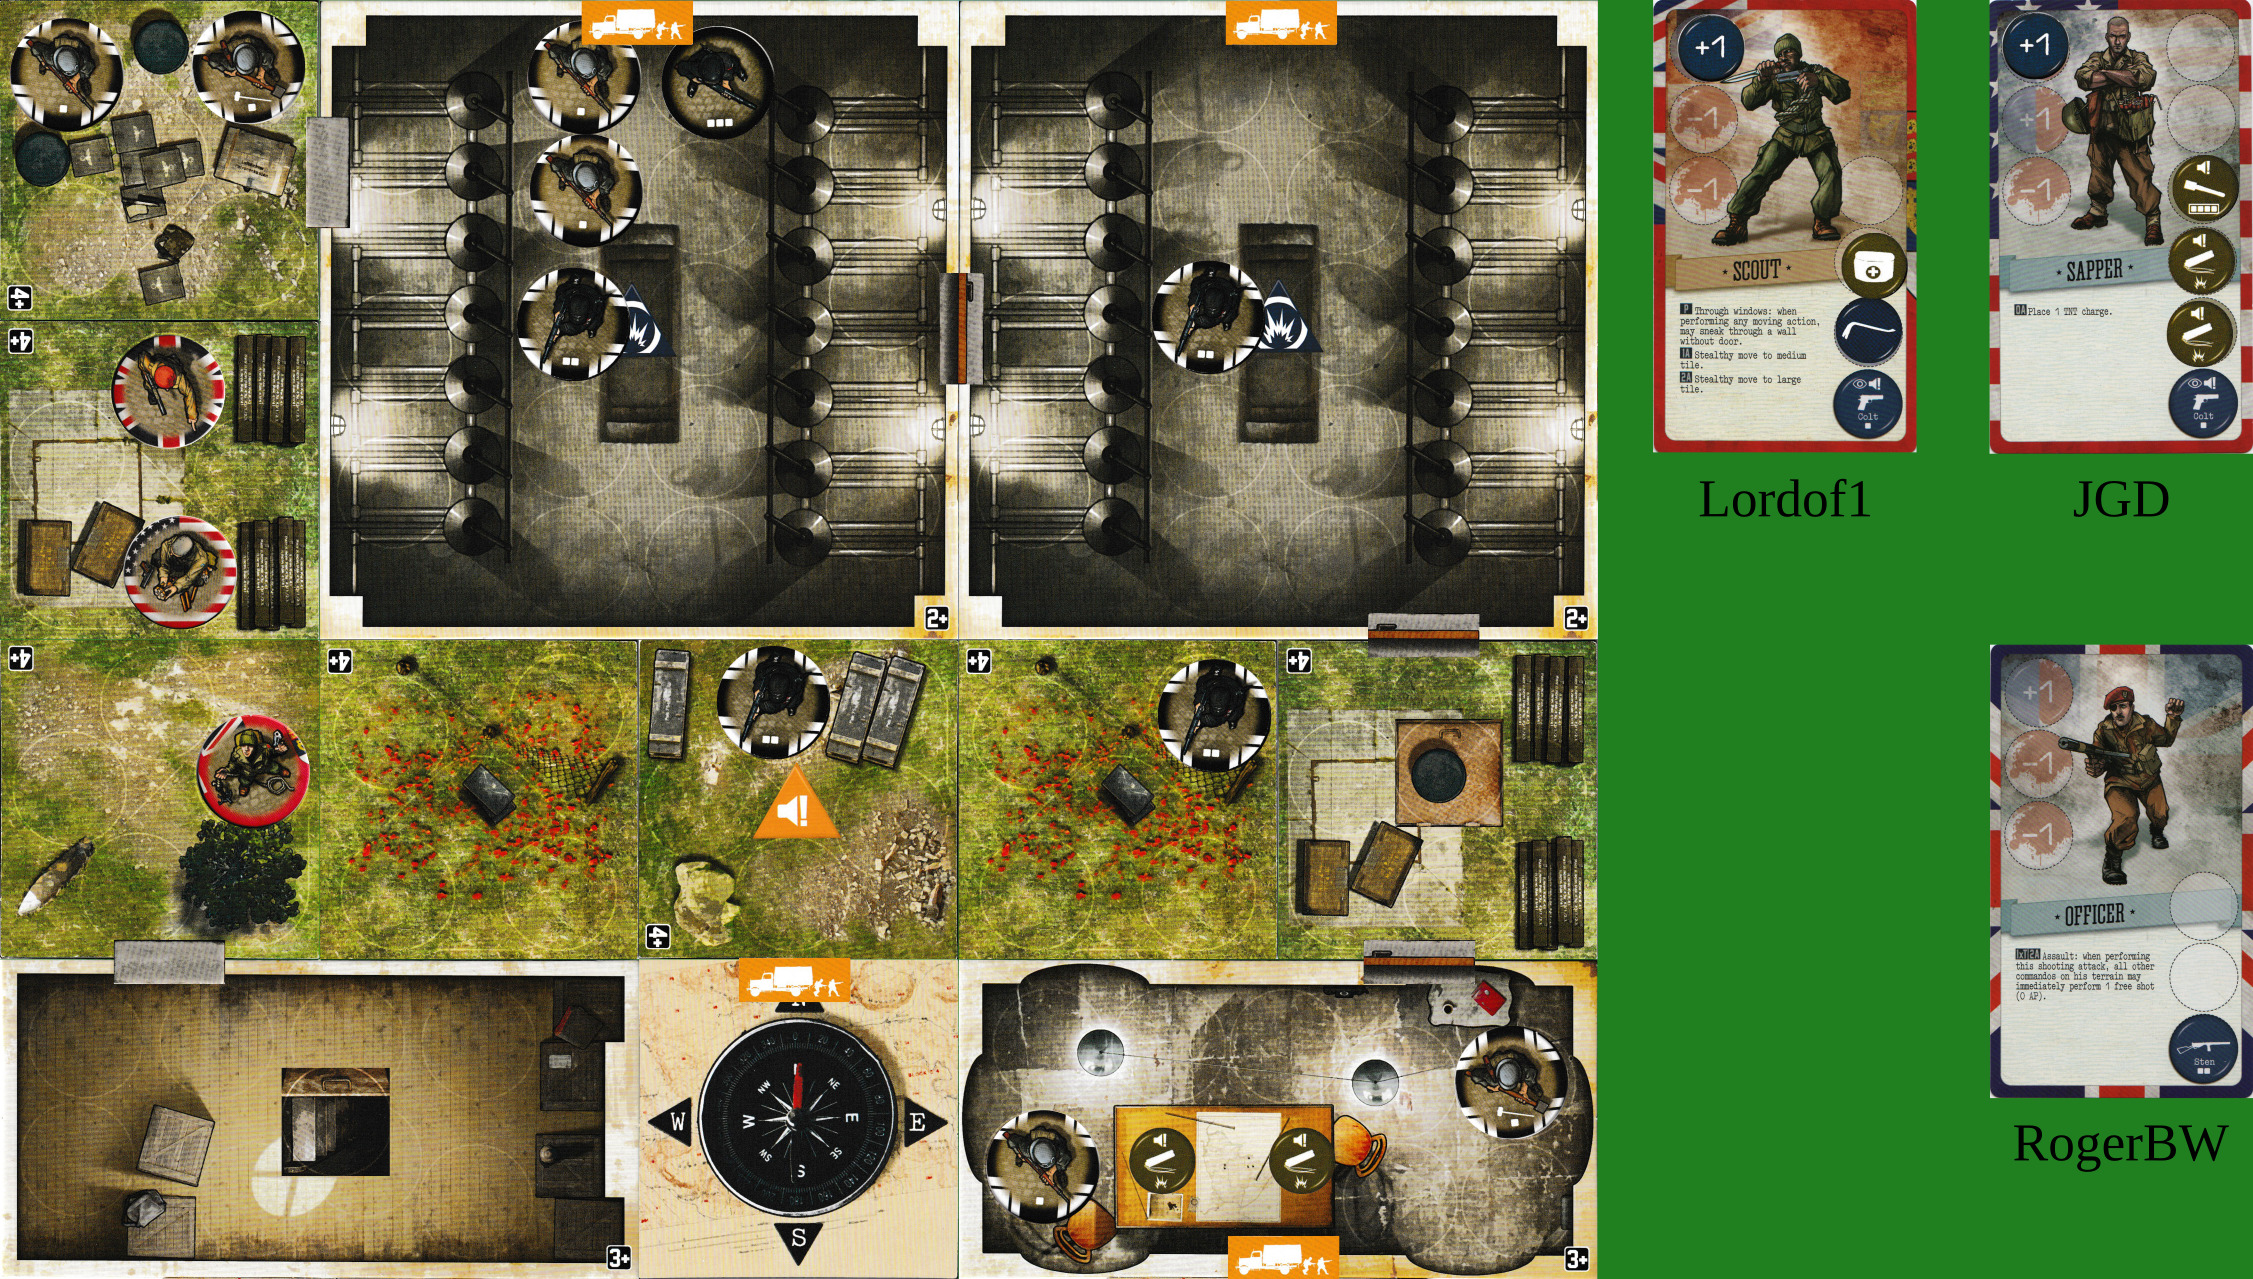
And I realise… bother, @JGD, you can’t open that door as it’s a locked one. You need a crowbar. We can shoot it open, though.
If someone is spotted, enemy reinforcements will go towards him by the shortest route (splitting if they’re equal length). That’s actually good, because the dry-dock guys will be heading east. Scout, your sacrifice will be remembered.
A proposal: officer moves north, shoots door (auto success), saves an action. That leaves him still stealthy on the NW tile. Then sapper moves north and saves an action. We’re both still stealthy, so we can let the reinforcements head through the dry-docks towards the alarm point. Then next turn we can stealthy-shoot, move in and plant charges.
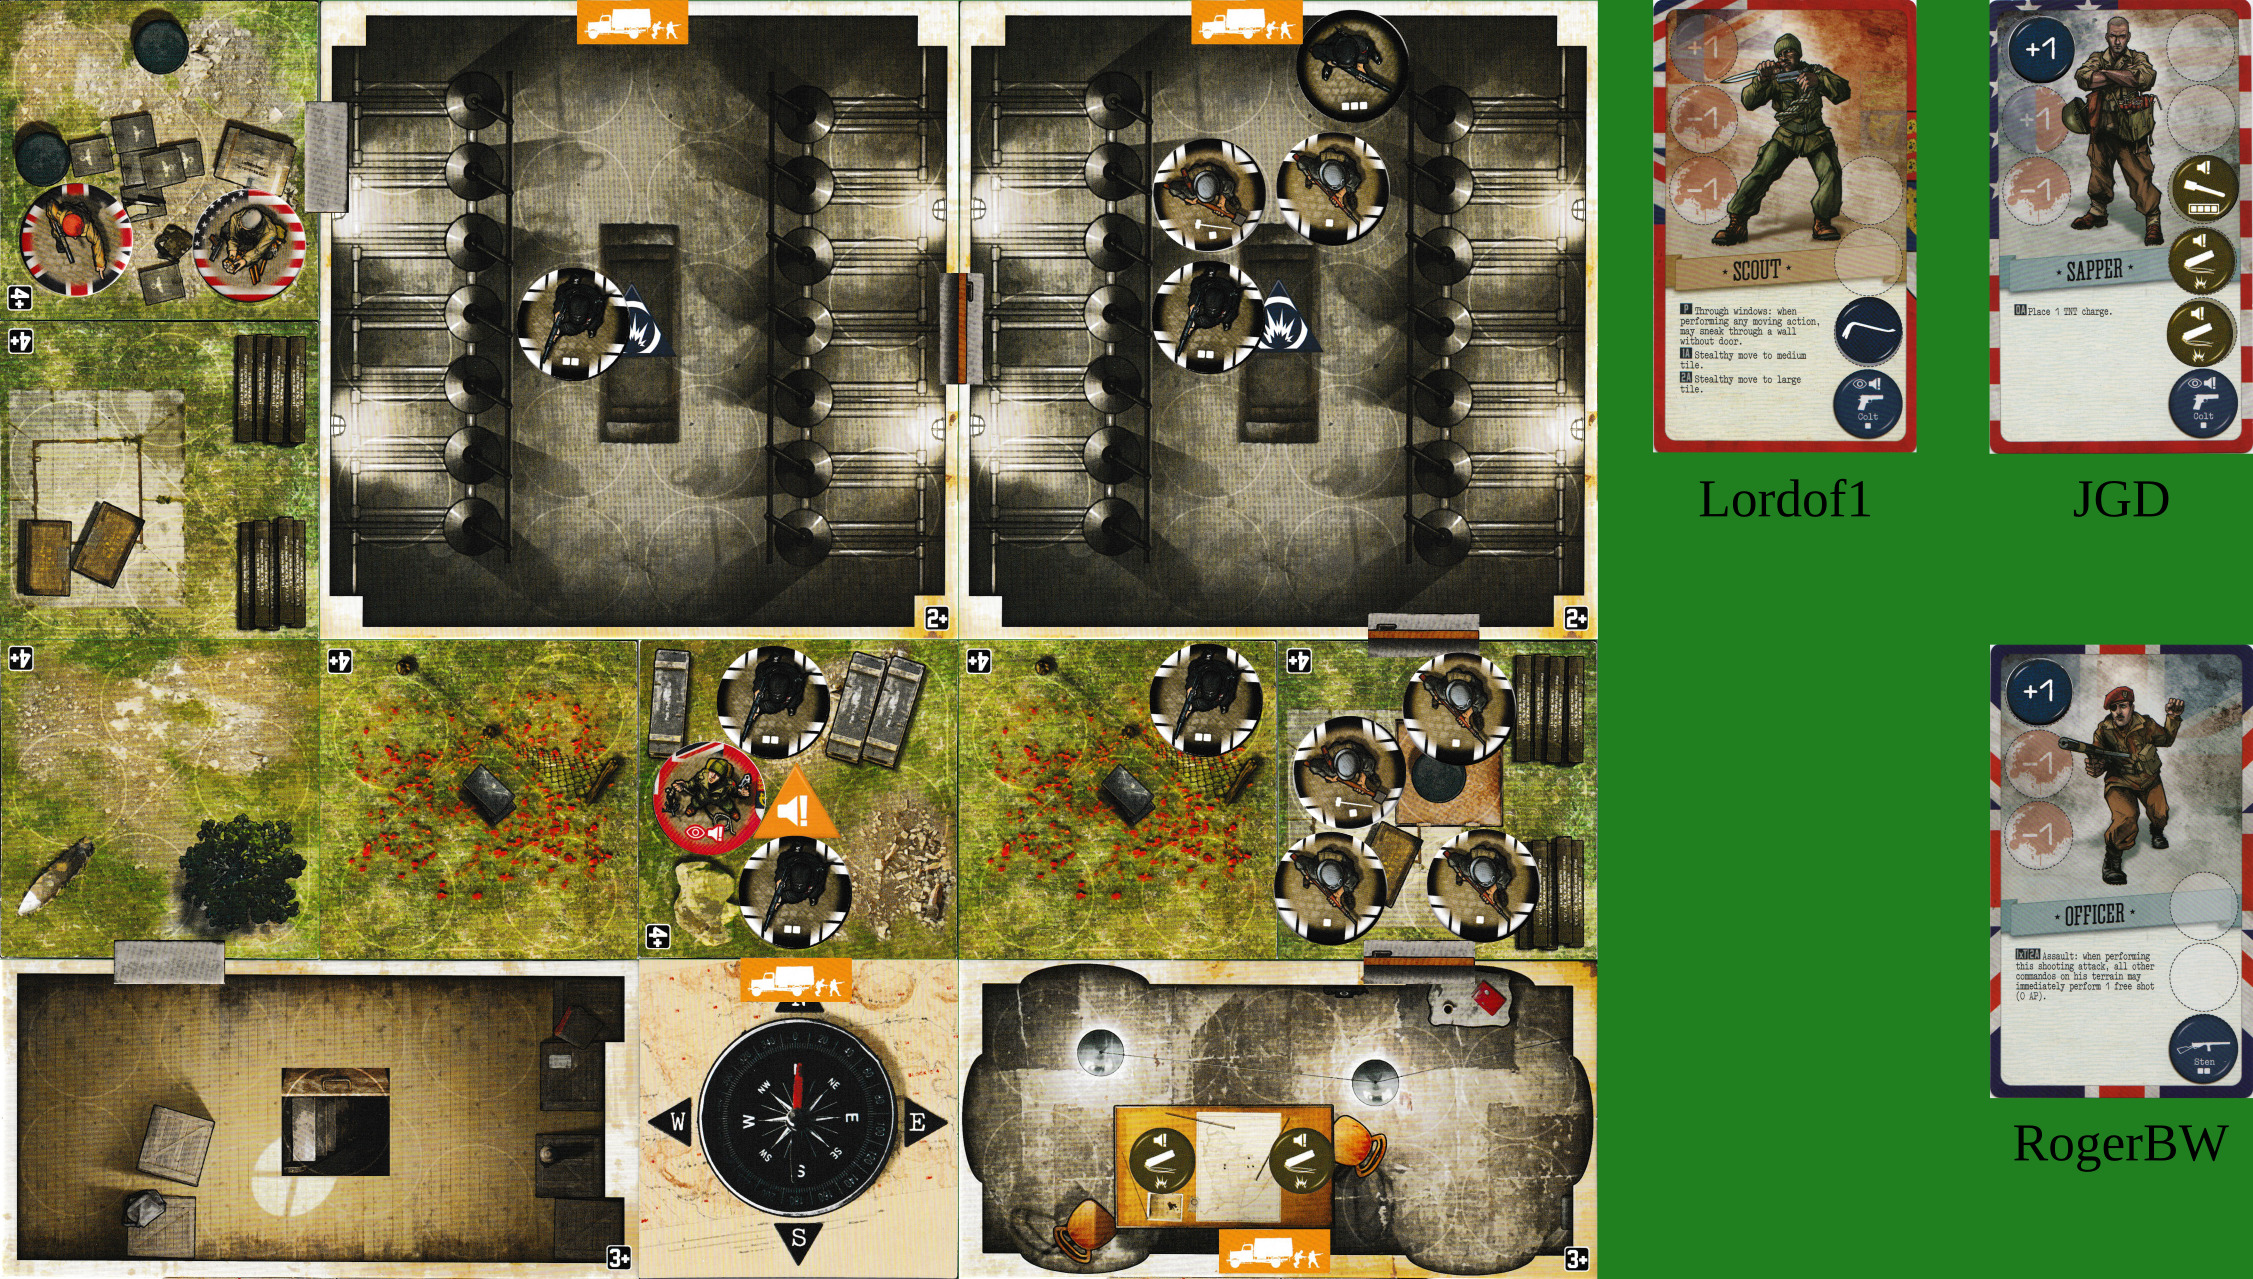
OK, enemy phase, at double rate for the alarm.
1 - reinforcements
enemy-1
enemy-1-hammer
enemy-1
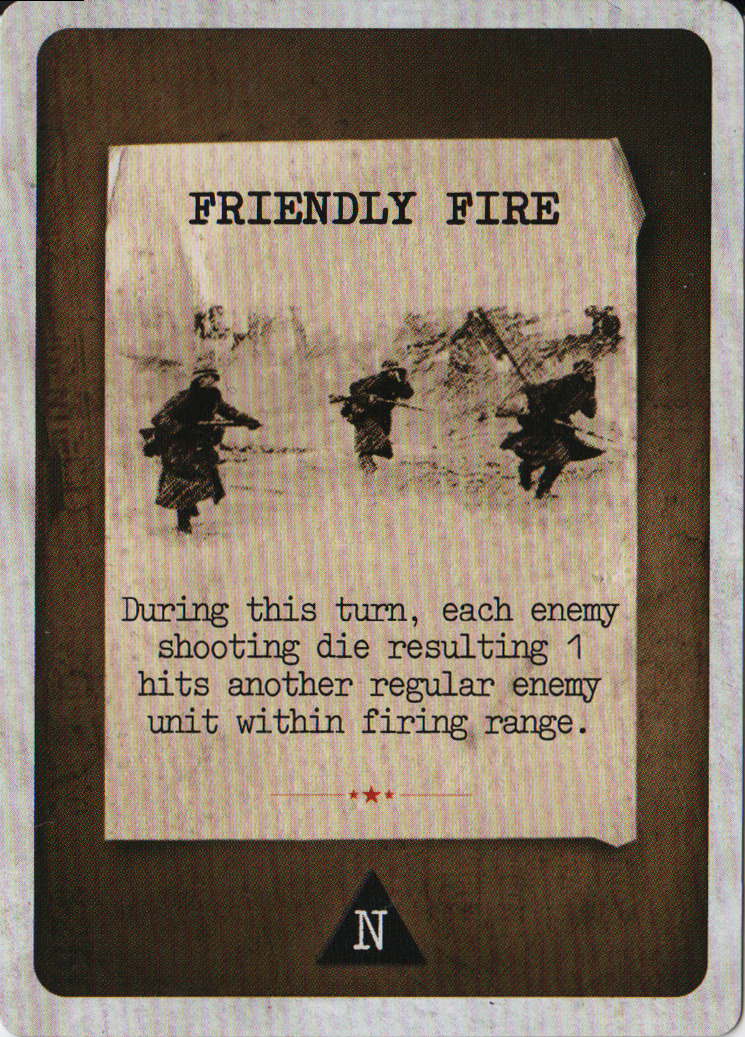
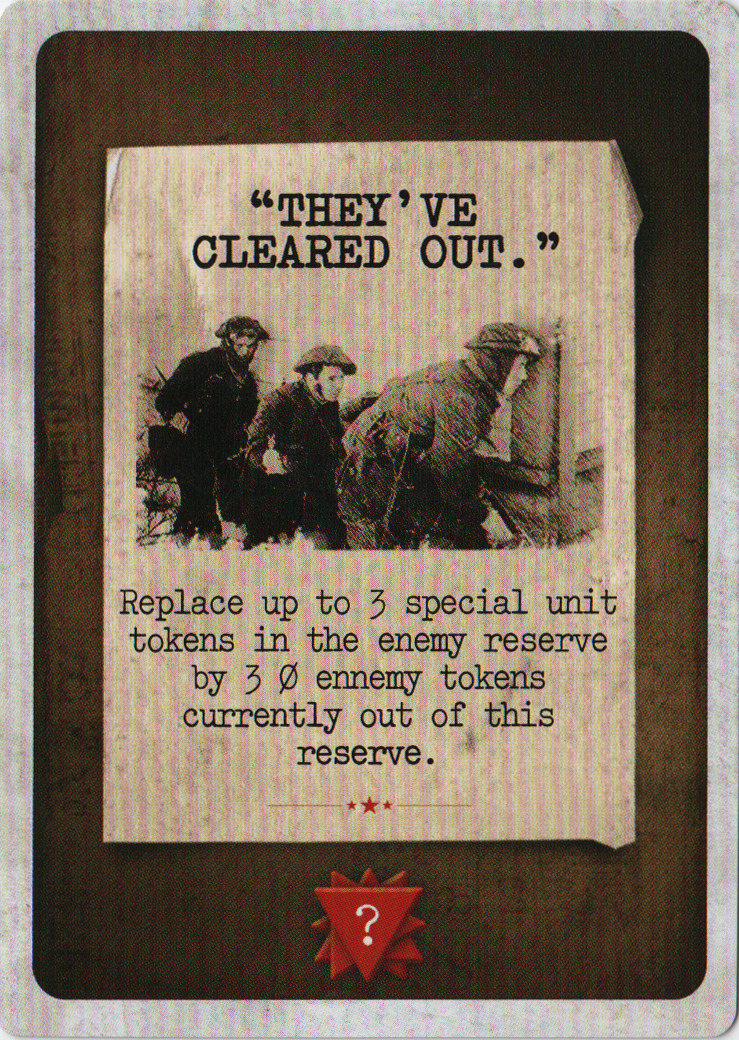
enemy-3 (the alarm is not silent so the event card doesn’t apply)
zero
enemy-2
enemy-1
enemy-1-hammer
2- movement
Towards the visible commando, unless sitting on a triangle token.
3 - shooting
There are three enemy-2s with the scout in range. Each die need 4+ to hit.
You know, I really should have suggested you use your last action to run away (and become stealthy) rather than shoot a final time.
Do you want to do that? It would mean that the other two are stealthy on the western tile rather than in the corner, though. If not, here’s how it looks.
I was going to run if I missed with my last shot, but I didn’t want to correct you, but if you think that’s okay, I’d like to do it, because if I couldn’t turn off the alarm I didn’t want to stay there.
Note that reaction fire occurs when a visible commando enters or leaves a tile containing enemies. I mention this because otherwise it seems awfully tempting for the sapper to dash in and plant the first charge.
And we have to complete one commando’s actions before starting the next.
I have this two-action shooting attack which lets everyone else fire too, but everyone else is firing pistols so it may not be worth it.
Lordof1 can close-combat the enemy on his space. I’m inclined to shoot the two in the NW, then move in there, and in the unlikely event I have a third action, save it. Sapper could shoot if necessary, then move in once the NW tile is clear.
I could close try again to get in and turn off the alarm, but with fewer actions, multiple stealth rolls and terrible luck that seems like a bad idea, so I’m tempted to close combat, then move west one square, then save an action. As there’s no chance of failure with that I may as well go first and get that out of the way.
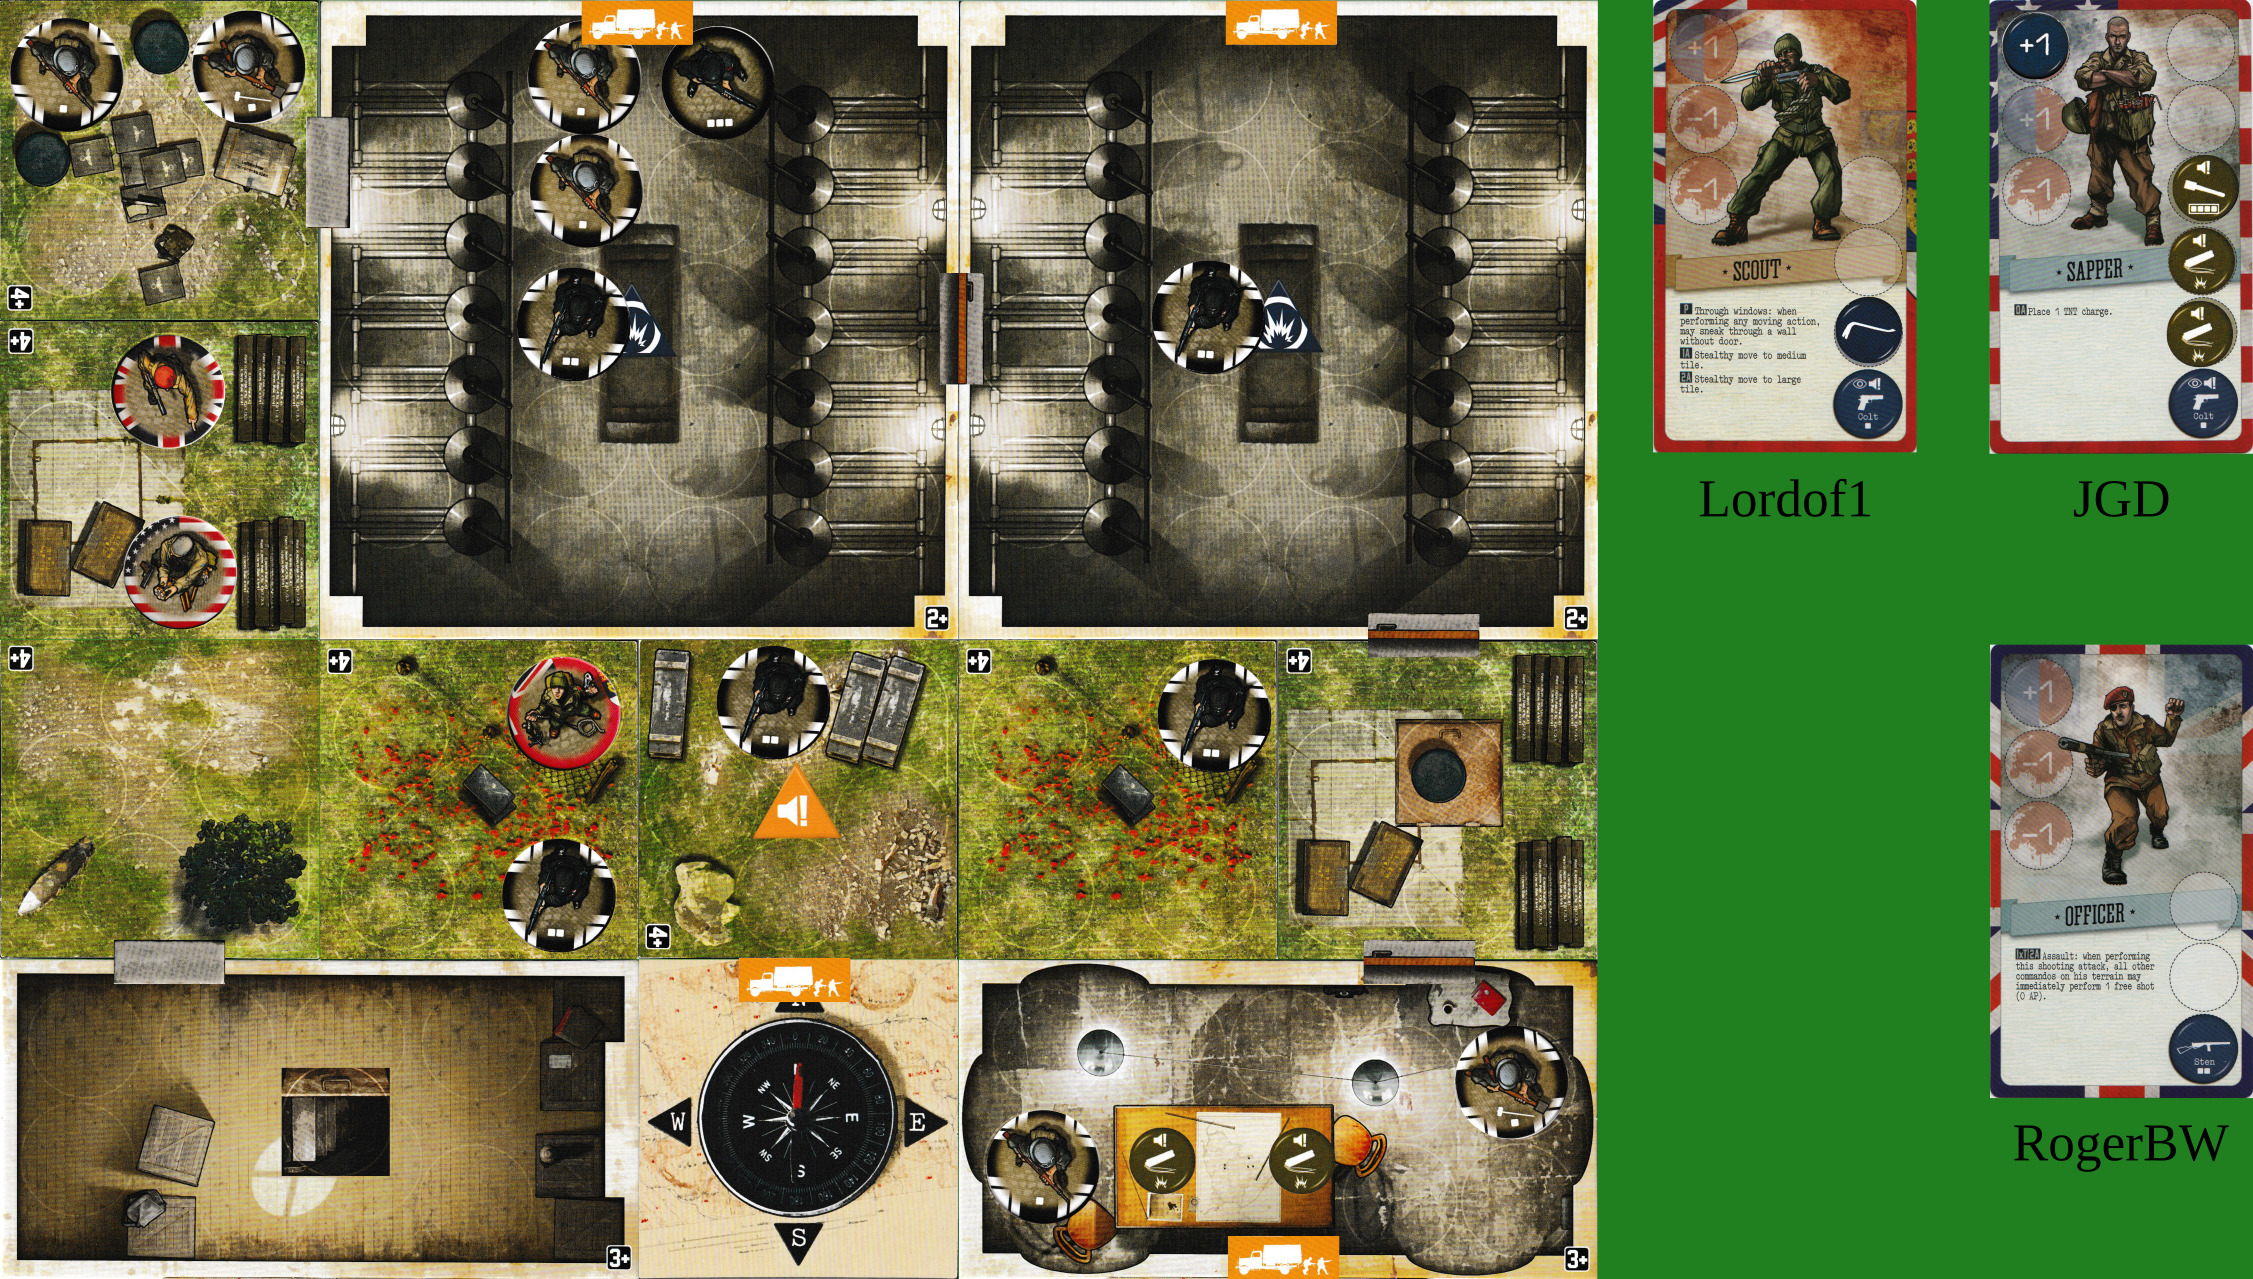
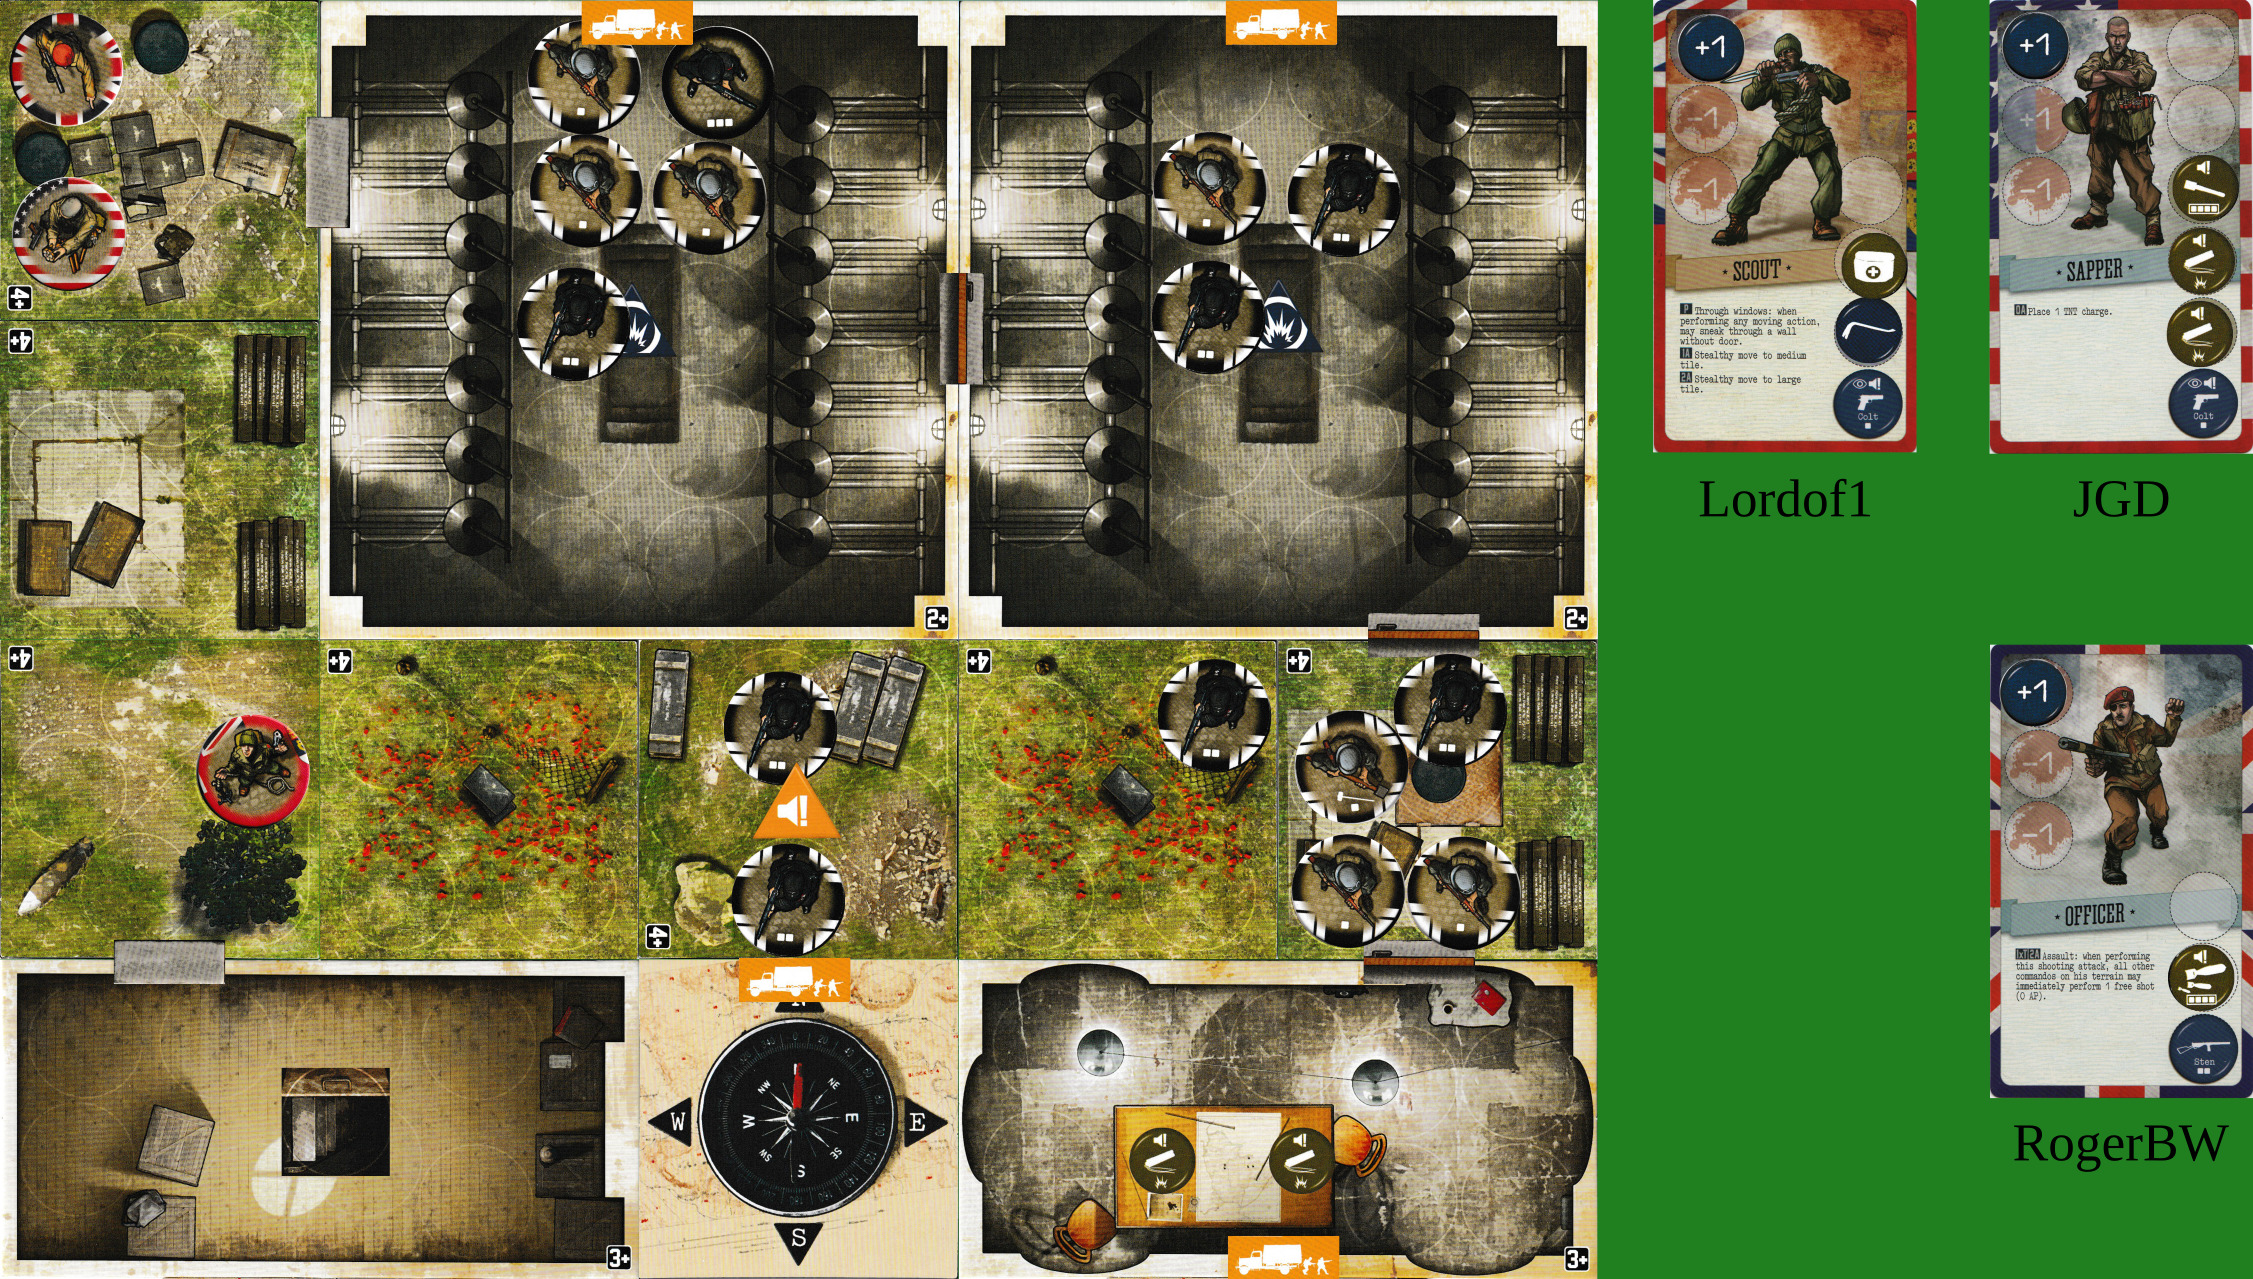
I’ve replaced the enemies.
That glyph means we don’t know which way they’ll move - at the start of the enemy phase we draw another event card (just for the direction; it doesn’t otherwise have an effect).
My feeling is for the officer to massacre the forces in the western dry dock (up to four 2-dice shots, 2+ to hit, risk of exposure if a spotted token is dropped while survivors are present); then the sapper moves in and plants the first charge. Is it worth thinking about the scout taking the second charge to the east side? We don’t want to be in the dry dock area at the end of the turn, in case the eastern dock forces move west. For now I’m going to bed.
How would you propose I get there? It’s rather swarming with enemies either way. I could hope that you clear out the enemies then go through both walls, plant and run, but I don’t quite have the actions to do all of it this round. The best thing I can is to move north then hold as many actions as I can (is it just one?).
Remind me how triangles work please - I thought enemies didn’t move when they were in a square with one, or I’d that just a certain number, or have I just misremembered?
First shot gets the special and the 2; they drop a crowbar and a spotted token. Officer is visible.
Second shot gets two 1s. They drop a StG44 and another spotted token.
Third shot: @discobot roll 2d6