It seemed appropriate.
Original Thread
It seemed appropriate.
Original Thread
This weekend I’m digging out an old project from 2 years ago, the idea for which started gestating about 9 years ago.
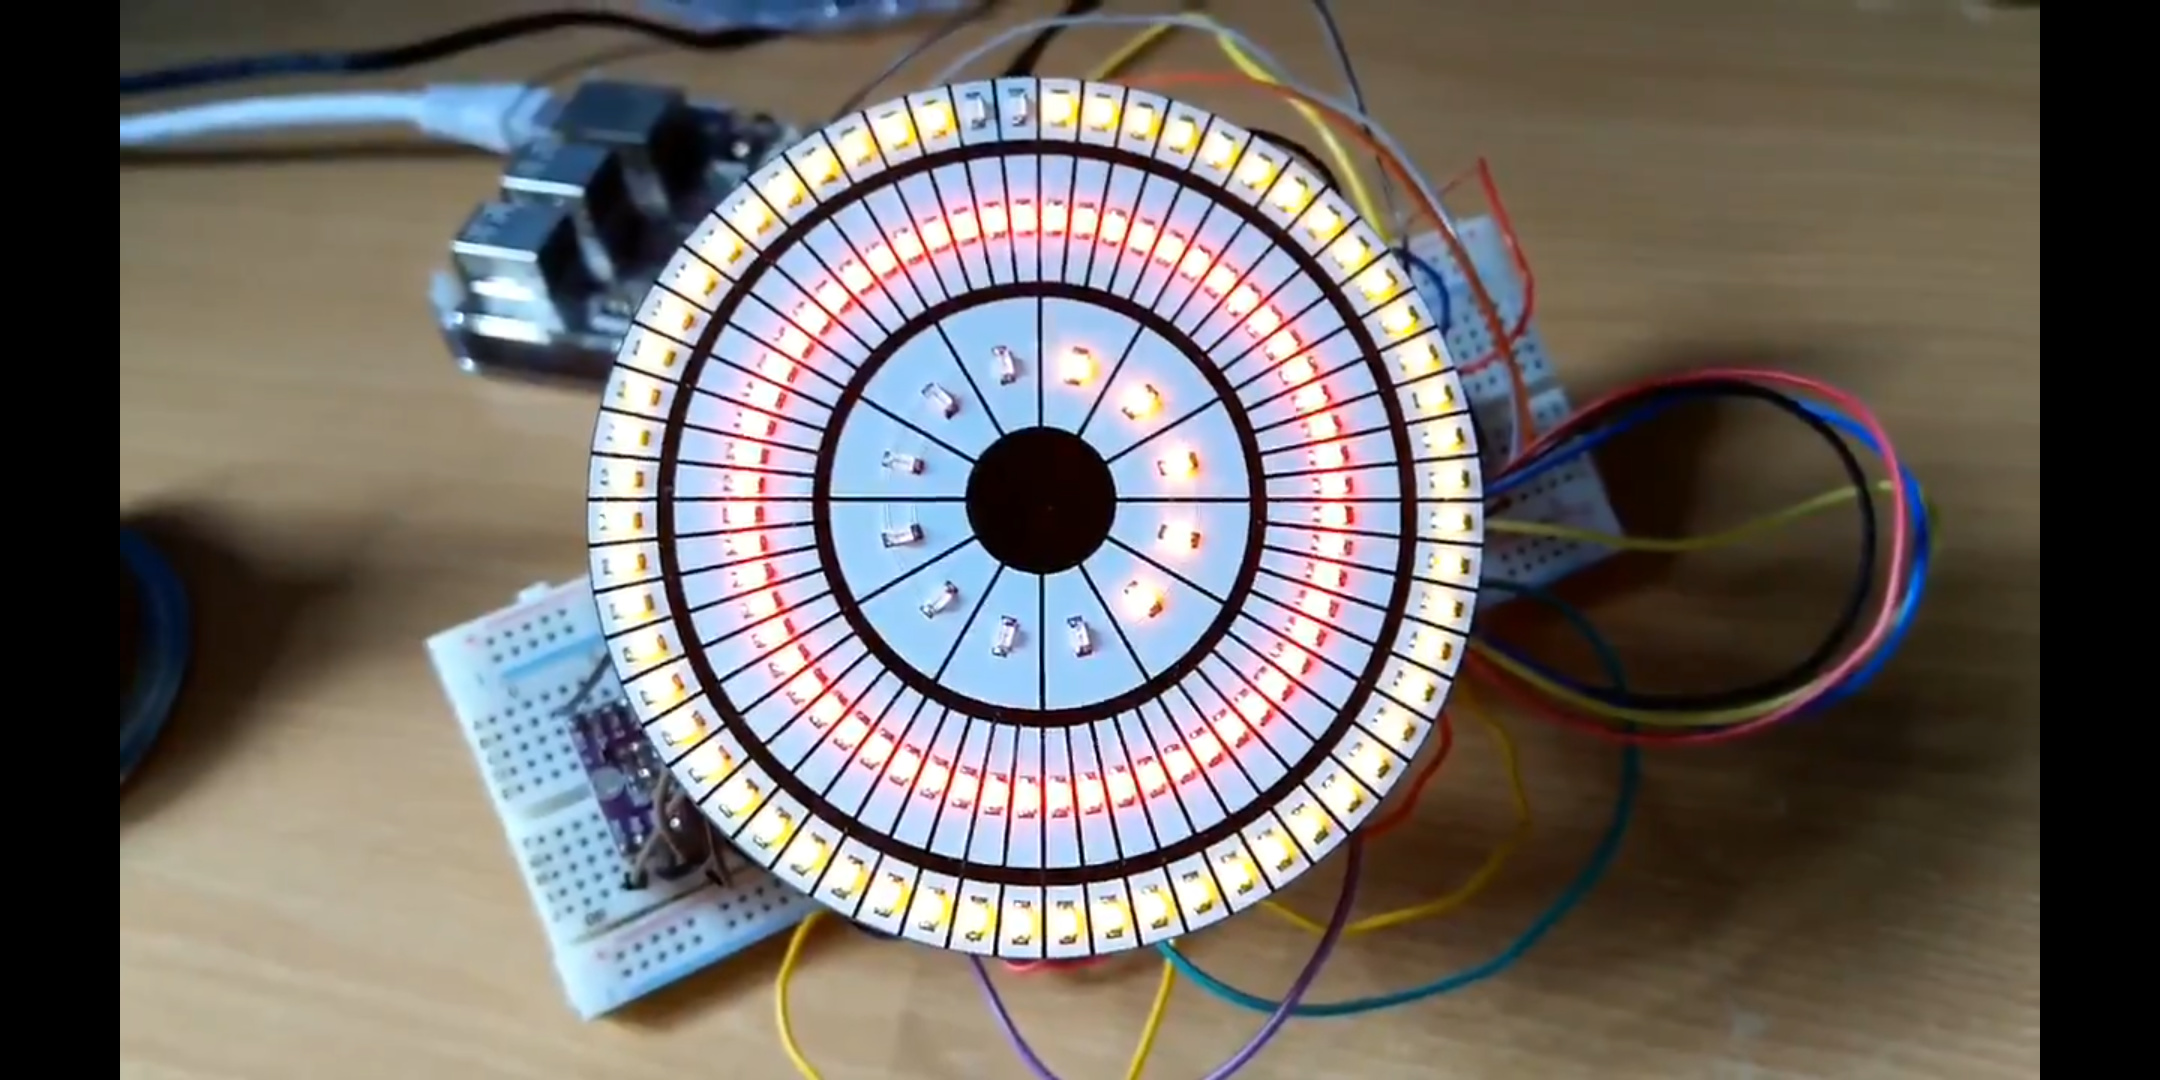
I’m going to solder 132 LEDs onto a PCB I designed and I’ll maybe stream it on Twitch and listen to some music if people want to drop by.
Earlier this year I invested in a 3D printer and while it’s seen a lot of use making odds and ends like replacement washing up brush handles, cookie cutters and child locks, I wanted a purely fun project.
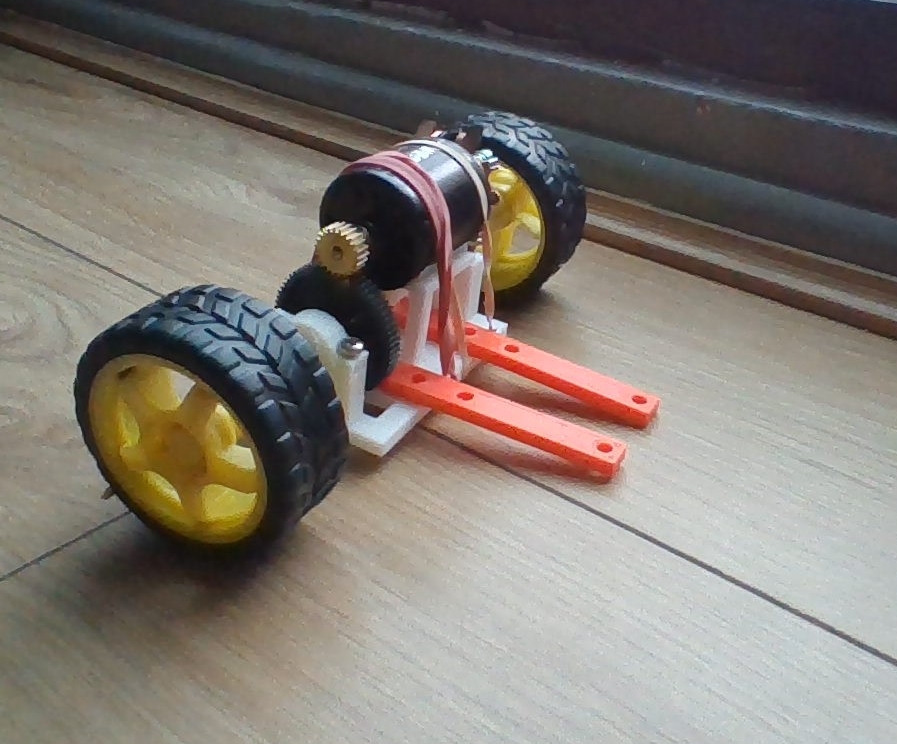
I give you the back half of a remote control vehicle of some description:
While it probably would have been easier and more sensible to use some pre-made STLs from t’internet, it’s been very enjoyable designing and re-designing each bit. It’s the steering mechanism that’s been keeping me entetrained this week so maybe I’ll have a front half to share soon(ish)
Ooh that is cool. Love homemade RC. Keep us appraised!
Soldering and Synthwave
Original Thread Archived above.
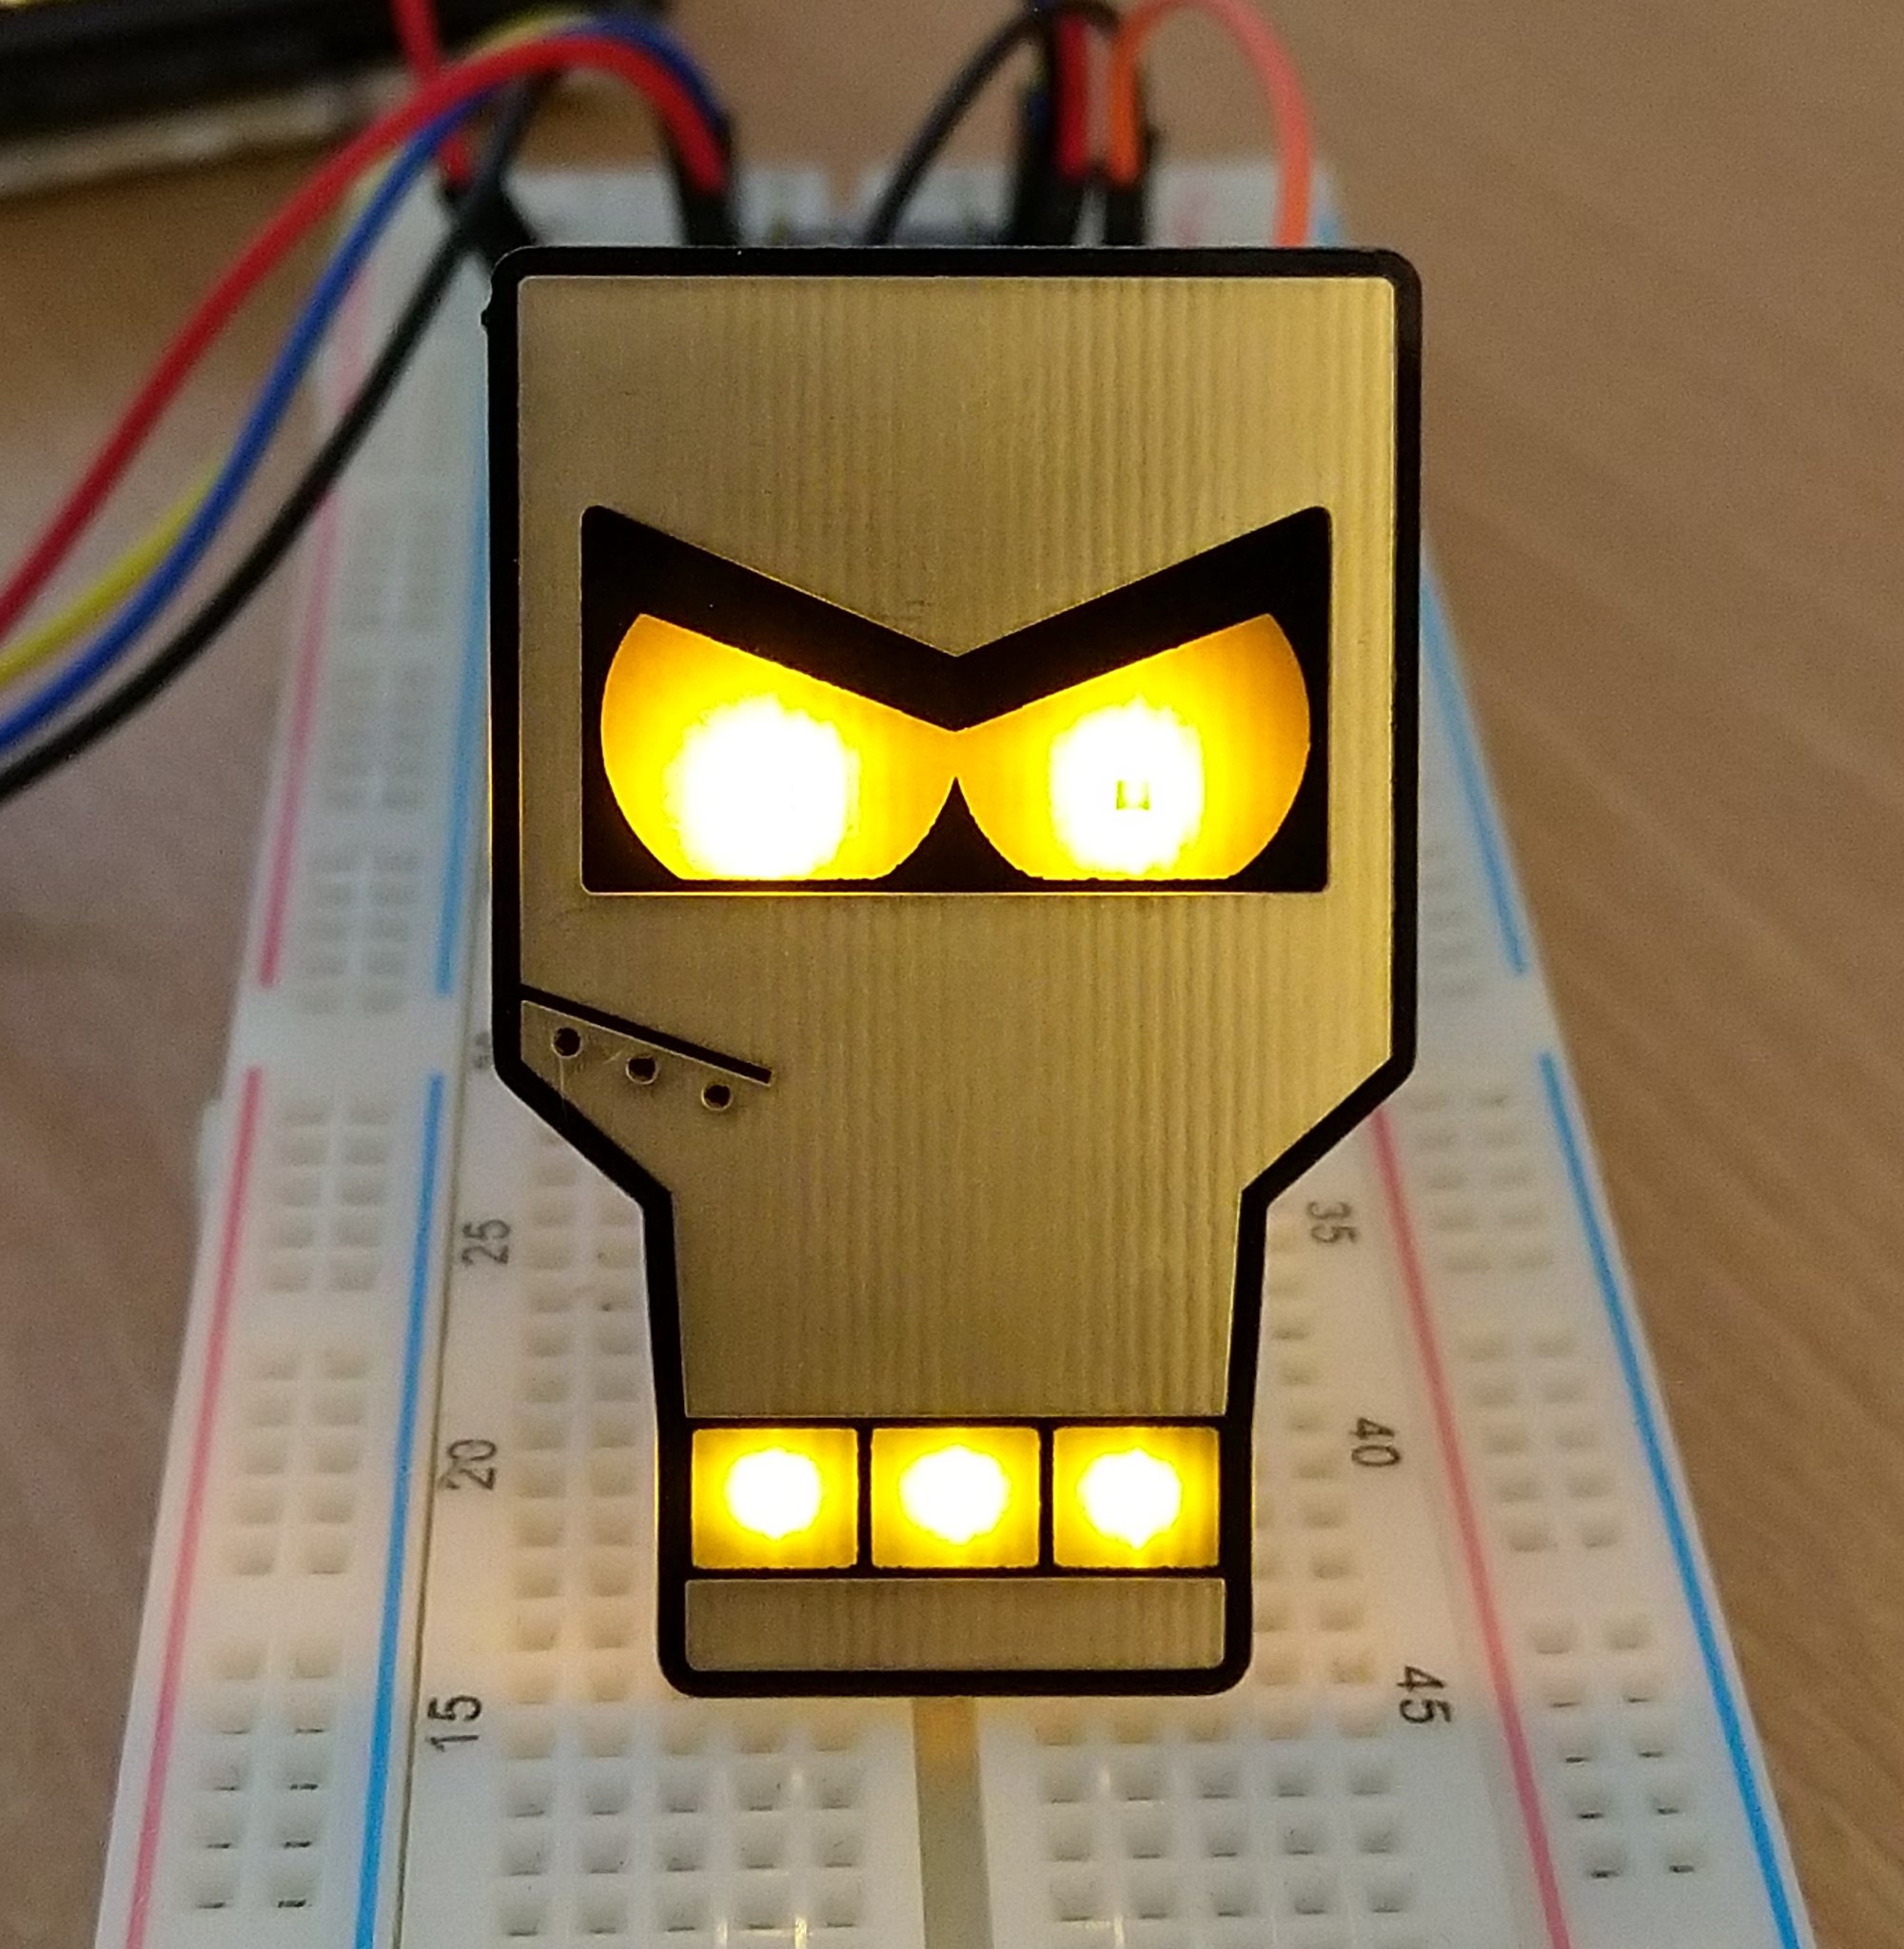
After fixing a couple of dodgy LEDs off-stream, I streamed some coding this afternoon on Twitch.
I kept expecting one to be very slightly slower than the other, but I’m guessing the animation rate is pretty much the system clock rate?
Yeah there’s an intrinsic animation rate which they’re both tied to. It was tricky enough getting them both moving separately I didn’t even think about making them move at different rates. That might be one for next weekend!
We have a local brewery called Three Boys, which I frequent. A few friends and I have recently taken up blacksmithing and I’ve almost exclusively made bottle openers of various designs, so I figured I’d make one third of their logo.
About two thirds of the way to finished I realized the drift I used to make the square hole wasn’t actually big enough to use as a bottle opener. There was a bit of a panic working out if / how I could make it bigger with loosing the shape, but we got there.
As you can likely tell, photography is not in my skillset, but you get the point. I’m moderately happy with the first attempt. Might complete the logo, more likely I’ll move onto something else.
I built another volume knob.
The volume control for my PC speakers has been intermittent as long as I’ve had them, either dropping one of the L-R channels entirely or being annoyingly unbalanced.
In my mind it has only been a couple of months since I last worked on this, turns out it was last May!
Finally did a bit more wiring to get the last 12 “hour” LEDs hooked up and wrote some new animations:

The plan now is to print a case for it and buy some black acrylic as a front plate. Then I think I’ll mount it all in a frame so it looks like a futuristic panel.
Experimenting with some acrylic:
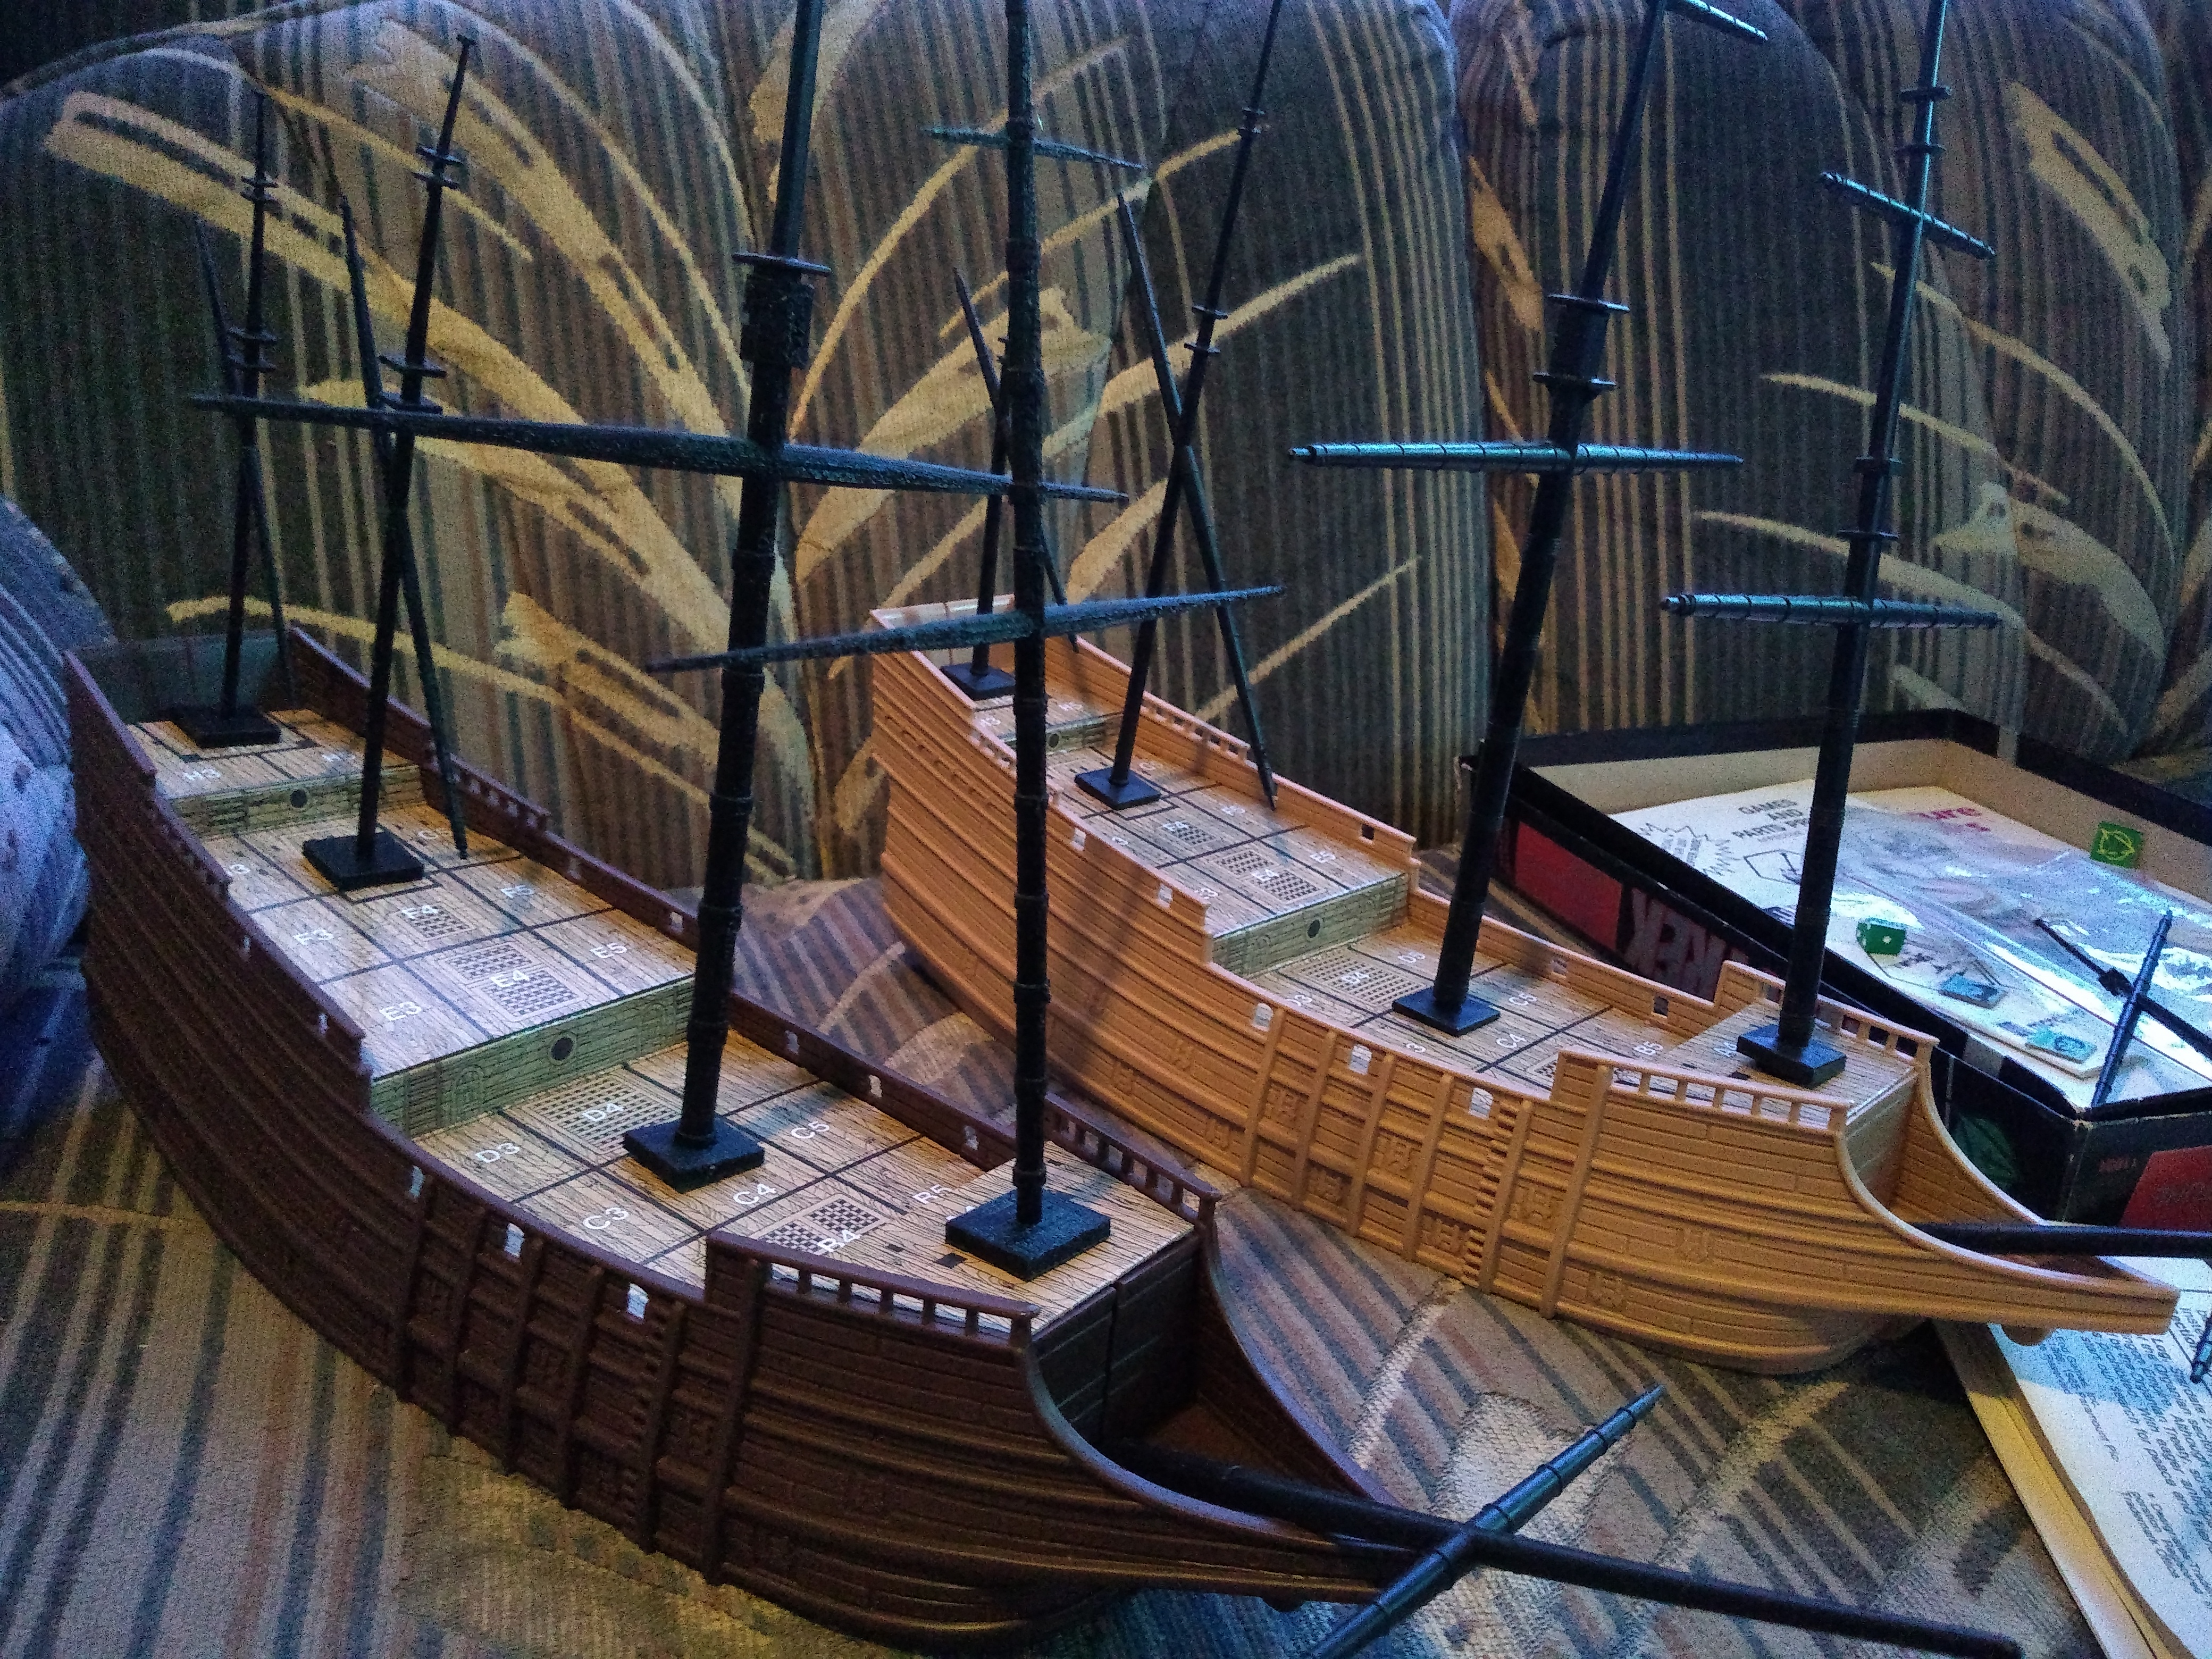
3d printed some masts for Broadsides and Boarding parties, as it was missing most of one set. Except for the top section of the mainmast, the ones on the left is entirely new.
It was just a matter of time. My new house has room for it and my children have taken over my “dedicated gaming table” for their own use (it hasn’t been clear of crayons and markers in months; occasionally one of my kids will set up Candyland, First Orchard or Hungry as a Bear on it… but that’s the only gaming it’s seeing), so I have started designing my own board gaming table.
Intended Features:
Broadly speaking, I’m expecting to fail the first time; learn from my mistakes and then hopefully be successful on a second build. My primary goal for the first build is to fail but fail in a way that someone still may want to buy the table from me, rather than just having to throw it away.
I would really prefer a traditional 4-leg design, but a trestle-style may offer some good storage opportunities (for the planks and possibly some gaming accessories)
Since I plan to fail on the first attempt, I’ll probably just use stained pine rather than investing in hardwood. Maybe the second attempt will be a lovely cherry or walnut.
If there’s interest, I may document the design and build processes here (or in a new thread).
This is something I have been tempted to try myself, but no time and never had the space to try working on such a thing. Plus, my 7 year old is still climbing up on the table and jumping around, which planks probably could not handle.
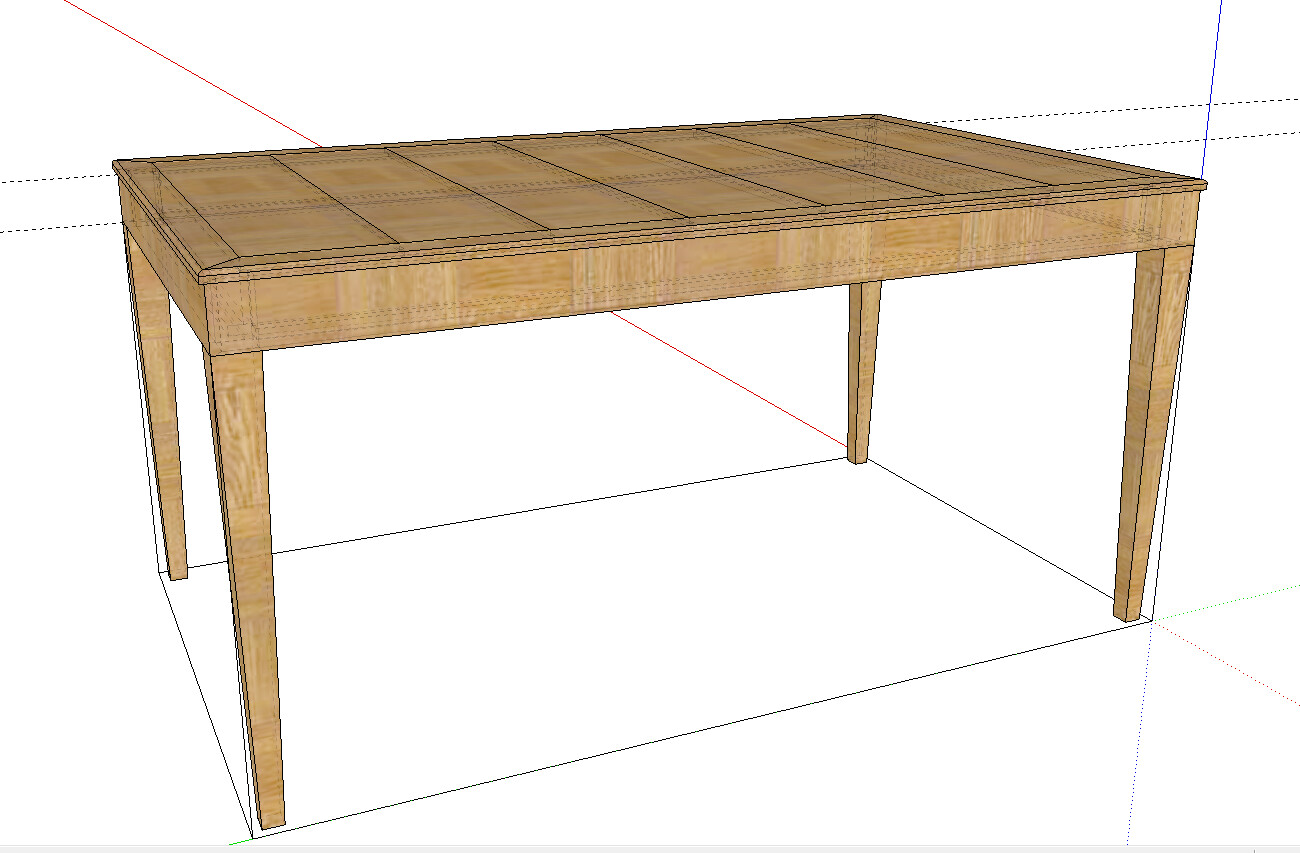
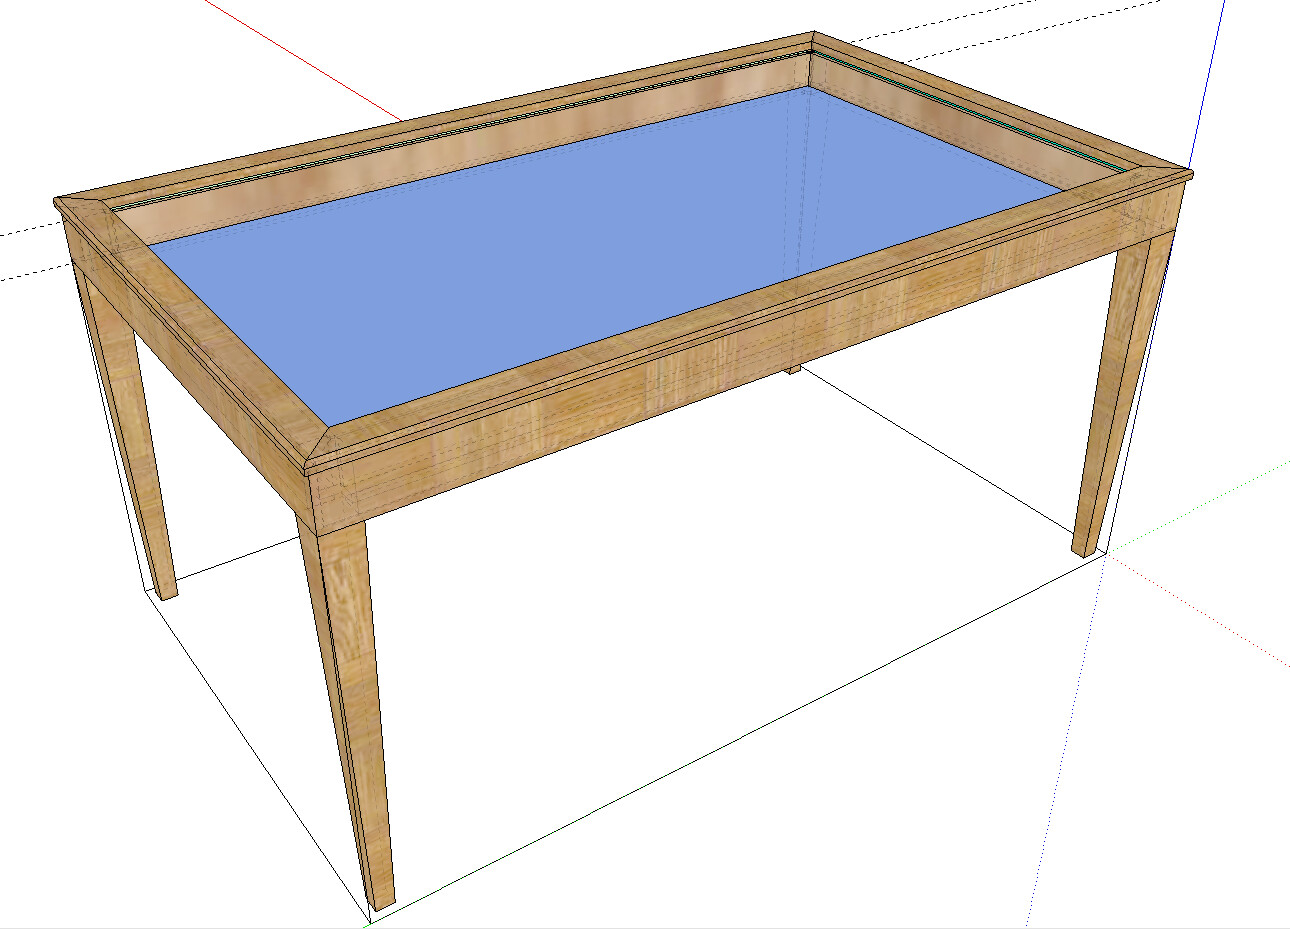
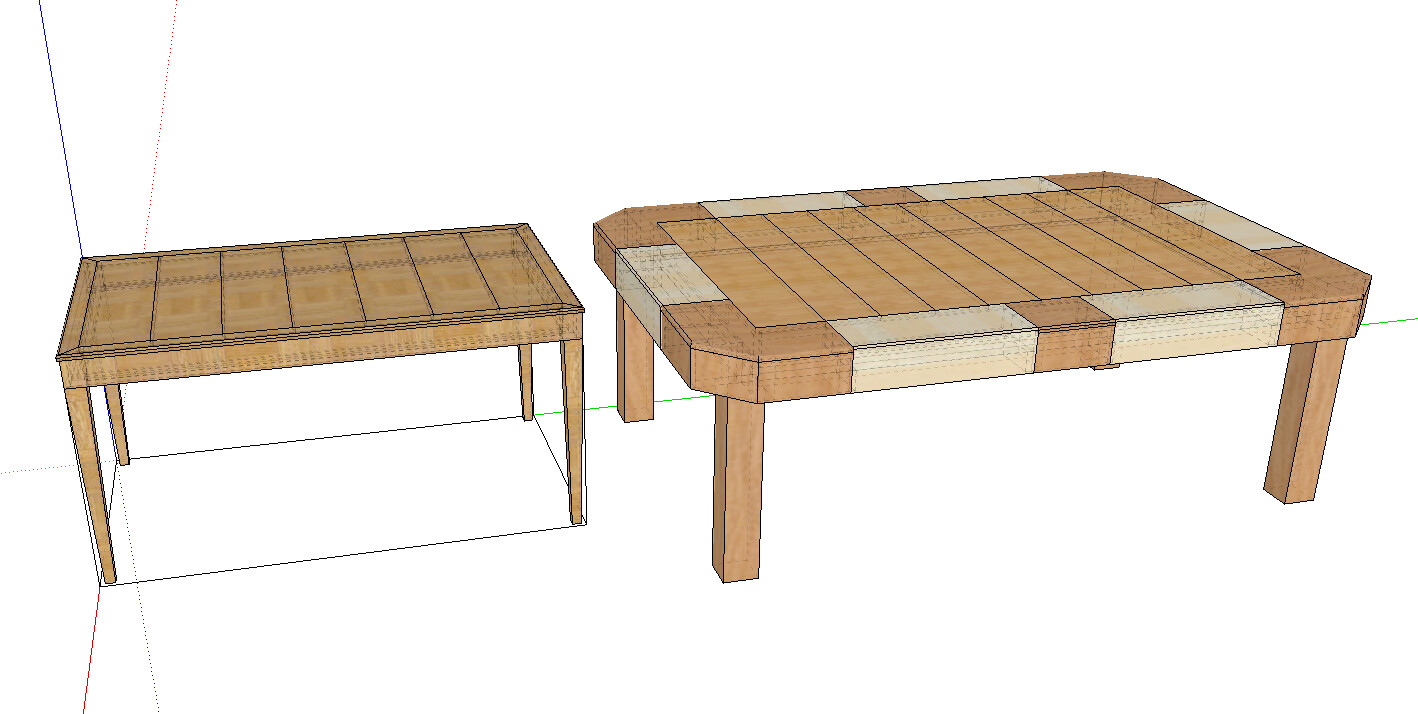
This is my second design:
My first design with all the things ended up being the size of a pool (billiards) table. I’m not sure I can convince my partner that we need that big of a table (yet).
So I started over and came up with a much more reasonably-sized design. This one has a usable area of 3’ by 5’ (a.k.a. a standard table size here in the US). The play area in the vault is about 31 1/4" by 55 1/4" and about 2 1/2" deep (there’s 2.5" of clearance for something left in the vault if the planks are in-place).
And, because I intend to build most of this out of pine/spruce (i.e. 2x4’s and the like) and some birch plywood, it should be pretty cheap. The most expensive thing I need to buy is, likely, the speedcloth for the vault surface.
EDIT:
Seems to me you could make modular things to hang on the side of the Mk 2.
Yeah, that was my high-level plan and justification for not having a wider leaning/wrist-rail to accomodate cubbies or drawers.
I think I’m going to try to integrate a French cleat system into it somehow.