Any love for foamcore?... Or... how do I store this thing?

I’ve been insert making and down-sizing my boxes again!

AACGaS from above with a shorter box (I’ve kept just enough that the scoring table on the box sides is still intact):

Splendor with a new insert and a MUCH smaller box:

X-acto surgery on NMBR9s insert and a box trimming as well as Cairn chopped down to size including more stock insert trimming:

And Carcassonne in the middle of a savaging:

Edit:
Carcassonne slimline is complete:


8 Likes

I went the other way with my NMBR 9. I got two copies for super cheap and cut the trays so they can stack on top of each other into one box so I can have more players at once.

8 Likes

Love what you did with Splendor there, I was considering making a wooden box for it, but not like that. Thanks for sharing.

1 Like

How do you get the paper to fold over the inside?

1 Like

My latest arrival directly needed a bit of “help” not a full insert here, just a couple of trays to keep it orderly for quicker setup.

4 Likes

It takes a while the first time, but I think I’ve got it down to about 15 mins plus glue drying time per box now. The advantage to this versus a straight cut with no label surgery is that it prevents the box and lid from bulging out in the centre of each edge. I don’t know why, but it works!

  • decide on depth to remove.
  • use x-acto/craft knife to cut down the box corners as far as the depth you wish to keep.
  • Deeply score the inner surface along what will become the new edge of the box.
  • Fold each of the four side ‘flaps’ that will soon be removed outwards 90 degrees.
  • Lift the edges of the art/label/box cover on the inner surface of each flap with a craft knife.
  • Run the knife along under the label for the length of the flap. It only needs to loosen the top few mm. It doesn’t matter if it leaves a good percentage of the cardboard layers attached in places.
  • Carefully peel the label off the inner surface of the flap. This doesn’t have to be neat. When the peeling reaches the box/lid rim it will detach clearly, as little glue is used in this area. The part just peeled will later be cut off.
  • Peel the outer label down to the fold line of the flap. This will come away easily now that you have a good piece to grip. This will later form the new inner part.
  • Fold the grey cardboard that is now seperated back into the box 180 degrees from its present position. It will snap off. Don’t worry if the top of the box edge is now slightly ‘fluffy’.
  • Stand the box on its side and trim the label along the white lines that used to be the inner surface of the lip/rim of the box (adjust trimming amount as required for different amounts of box removal). Use a metal ruler and craft knife.
  • Trim triangles off each end of the label flaps to make a trapezium shape which you’ll fold into the box in a moment.
  • Spread a thin coat of heavy/thick PVA or wood glue onto the label flaps that you’ve made. THIN! Fold flaps and clamp to avoid wrinkling, peeling, and warping. Bulldog clips would work. Paperclips might.

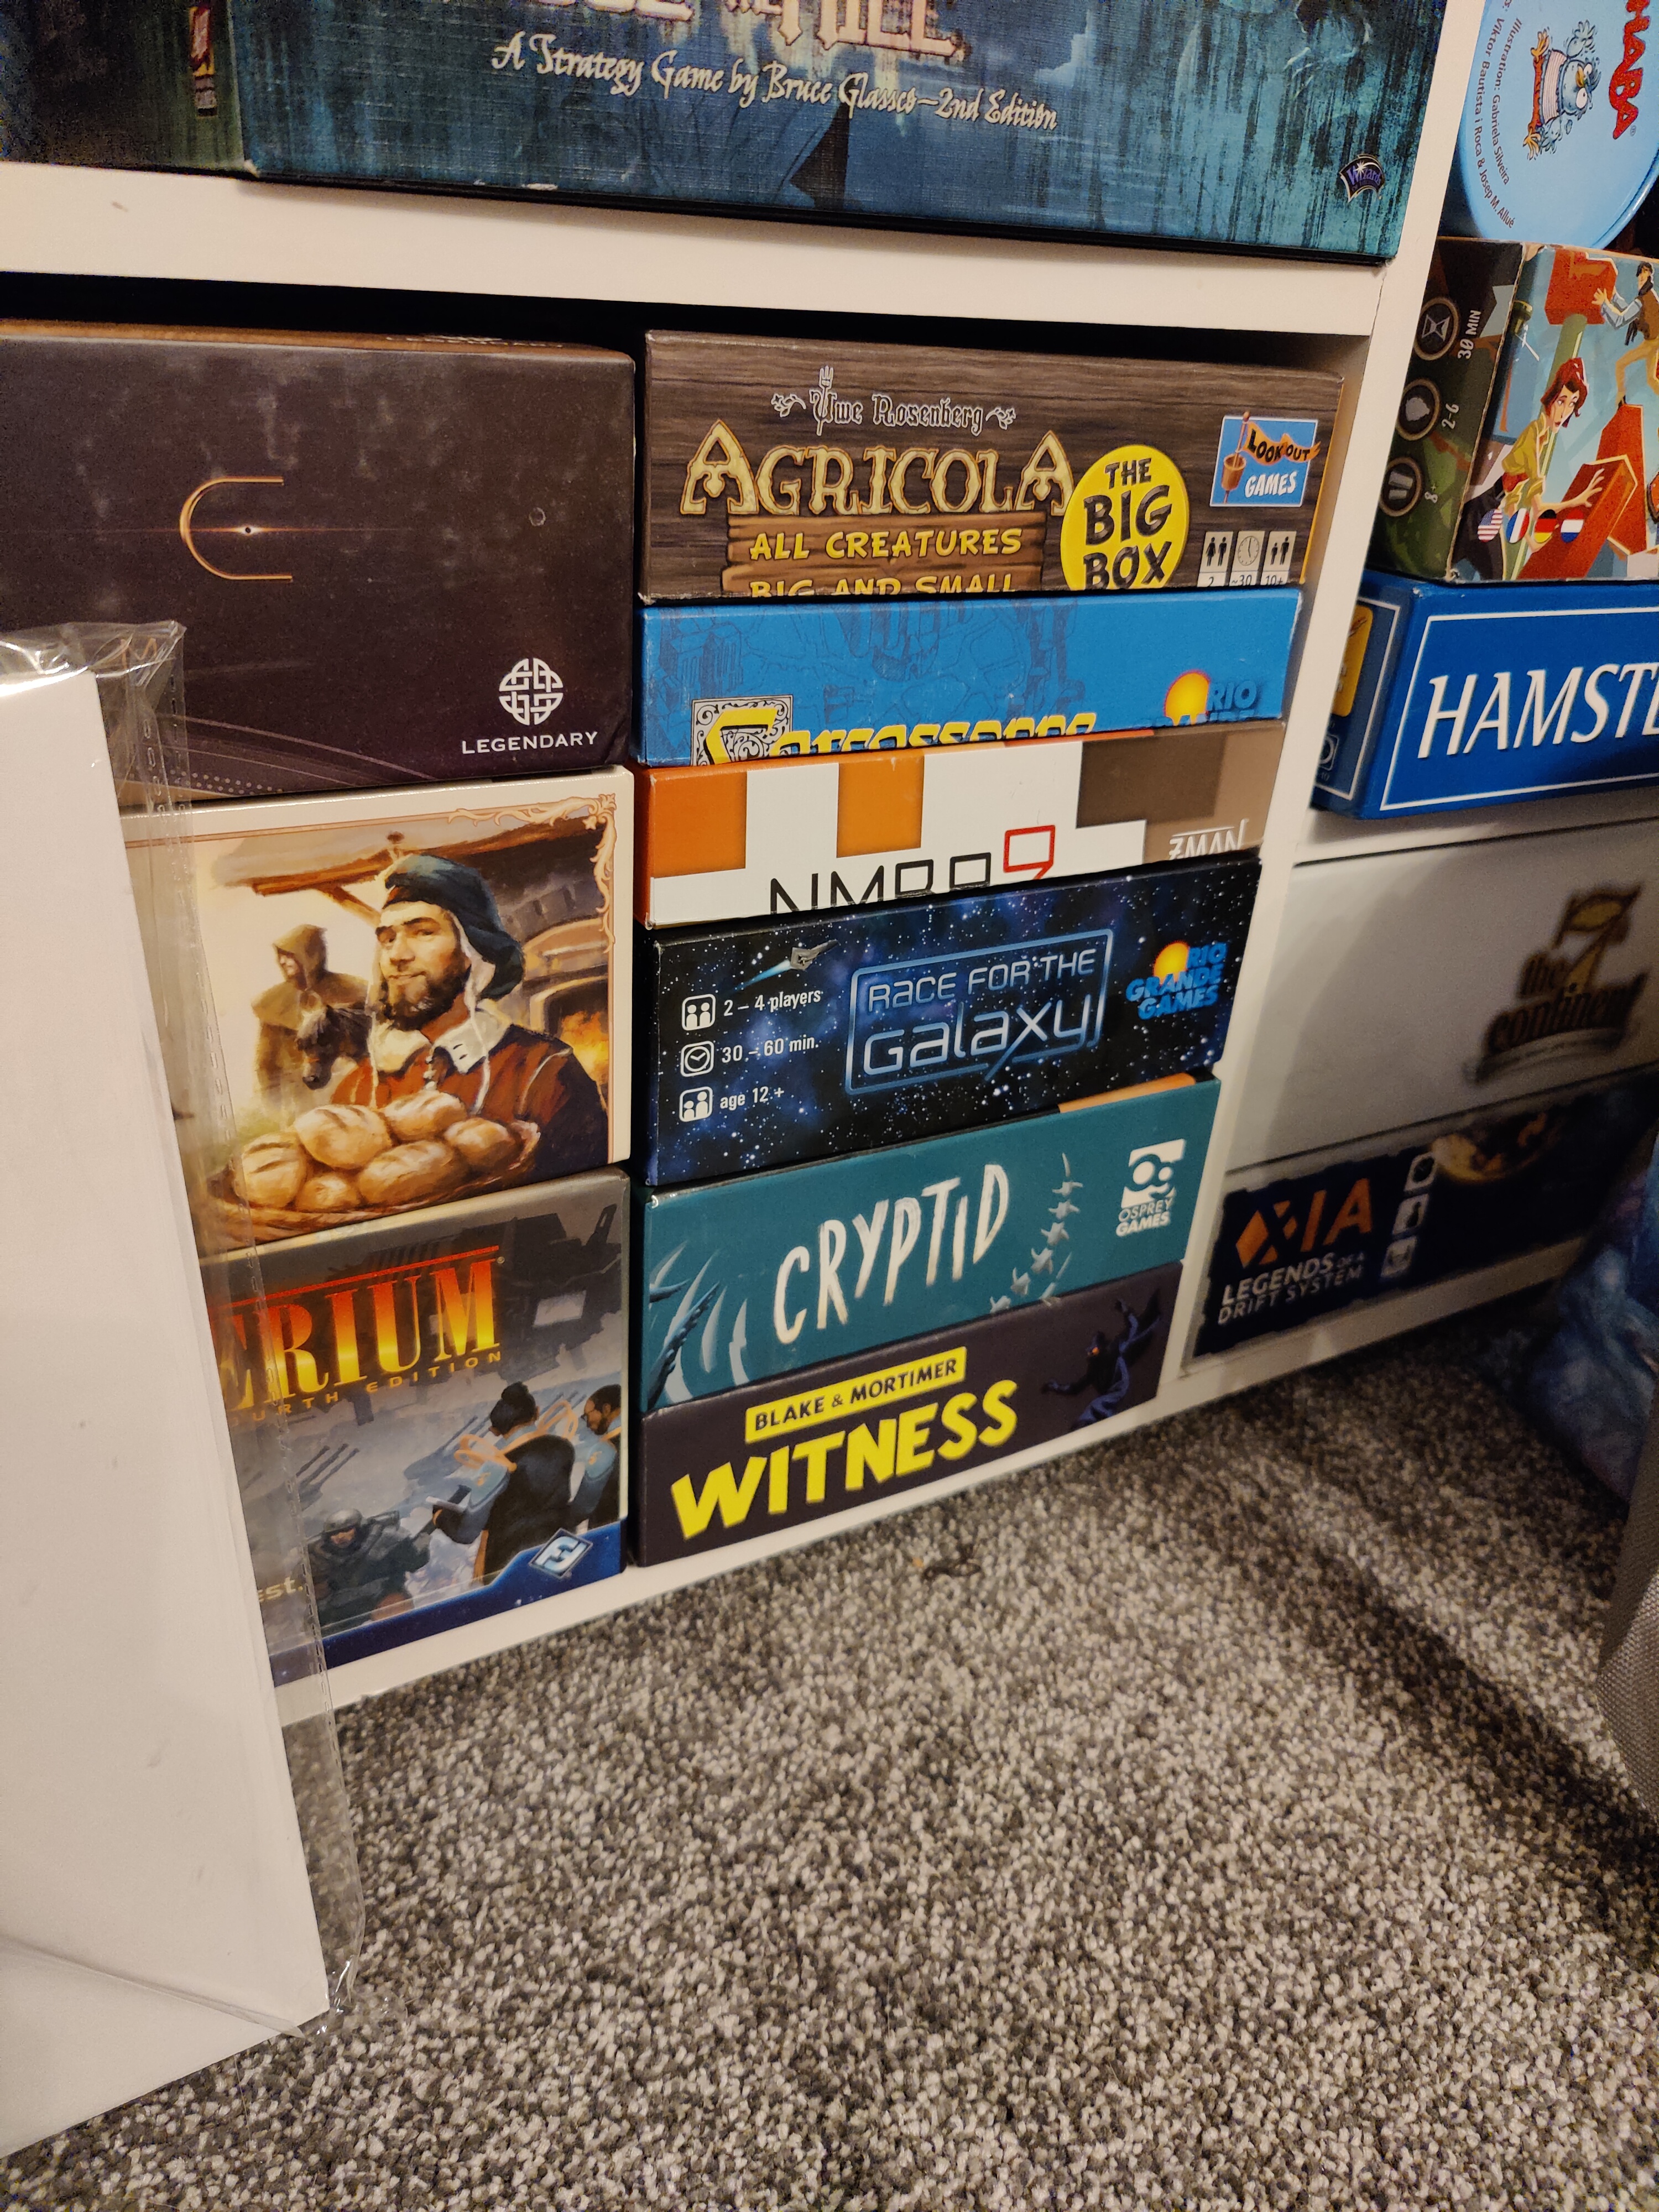
Some chopped games taking up less space on the shelf.

I promise my next post in here will be foam core based!

5 Likes

Thank you so much. I will see if I can find a game that I can try this with :slight_smile: Now if I knew what Bulldog Clips were but I guess google will educate me :wink: edit: ah yes, google knows all. I actually have a few of those but probably not enough.

2 Likes

Just getting pipeline out for a game and remembered I was going to share my inefficient insert with you lovely people.


5 Likes

I imagine that with nothing forcing the sides together along the cut edge, the card simply expands, and it’s going to expand the most at the centre as the far ends are compressed at the corners? The fold-and-glue approach would be preventing that expansion.

I haven’t done a foam core project in ages since I’ve generally been favouring sewing and tackle boxes to handle the job. I finished assembling Seal Team Flix this morning, however, and the game boards are just screaming for a custom bottom/organizer.

The game actually comes with a very useful and sturdy vac-formed insert, but can’t be used without significant lid-lift when the boards are assembled. So, it’s getting chucked. There aren’t a lot of components, so I’m thinking I’ll use the bottom of the box as both storage and as a foundation of sorts to keep the boards supported and flush to the lid.

Will post pics once I’m happy with a solution!

I realise this isn’t foamcore, but it fits the crafty feel of this thread…

Has anyone tried adding resin to their tokens? Here’s a video of what I mean: Resin Boardgame Tokens and a link to the “How to” on reddit: How to Resin your tokens

2 Likes

Looks ace, but I’d be too afraid of it going very very very wrong to do it

1 Like

My thoughts exactly, but I have a full spare set of tokens for AH:LCG so I’m tempted…

Not resin, but I did give all the tokens in The Resistance: Avalon an enamel clear coat after one of the players spent a few games rubbing them over the table surface.

2 Likes

They did what now? Was that some unconscious idle activity?

Yeah, if I recall it was the rectangular voting tokens that they were repeatedly shuffling back and forth across the dining table while discussions were happening.

Packing the game away after that session I noticed the print on the edges of just their two tokens was very worn. Sprayed all the cardboard tokens/chits to make sure it didn’t get worse.

Only game I’ve ever sleeved as well since the cards are handled so much.

5 Likes

I whipped this up in about 5 minutes last night. The cards in this game (Mini Rogue) are a bit fragile so I sleeved them, which forced me to split the deck in the box. Felt like a good opportunity to make up a quick, functional divider, and while I was at it, I glued some felt into the box top for an integrated dice tray.

The divider isn’t exactly pretty but I feel like it came out pretty well for a true freehand construction. Couldn’t even find my ruler so I used… more foam core as a straightedge. :grimacing:

4 Likes

Whats the best thing for sticking foamcore?

I use superglue, because I’m impatient and like to live dangerously.

1 Like

I’d imagine a hot glue gun is the best compromise between speed of fixing vs ability to correct?